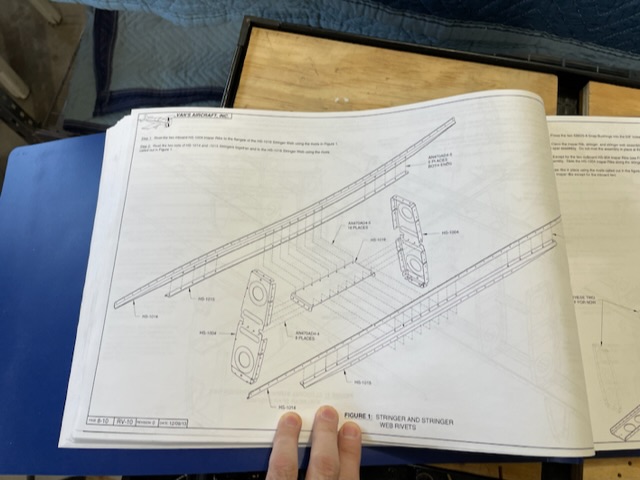
Day 44 – Horizontal stabilizer – putting the pieces together
- Fred
- 0
- on Dec 11, 2022
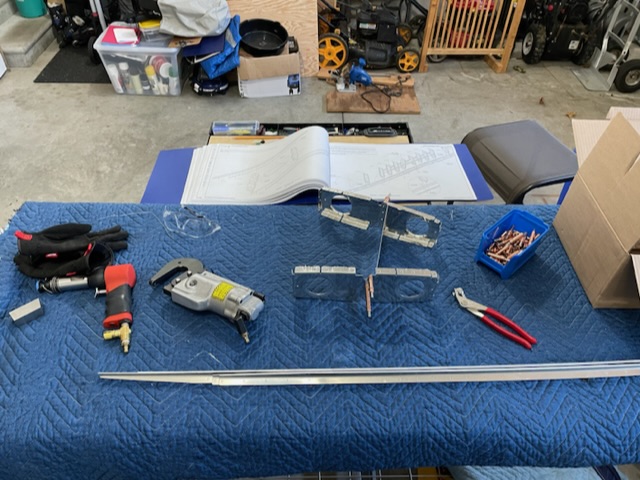
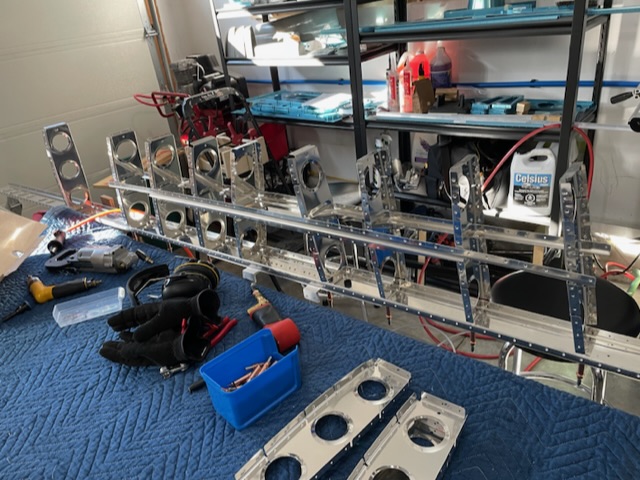
This was a long day, and I got a lot done. I also made a few mistakes along the way, but luckily, I’m getting good at drilling out rivets. Too bad I’m not just as good at following instructions!
To start, I connected the two inspar ribs with a stringer web. My rivets were perfect. The assembly was beautiful… but wrong. I’d attached the stringer web upside down. I never noticed till I tried to attach the stringers to it. Ugh. Here we go with the drill, right away!
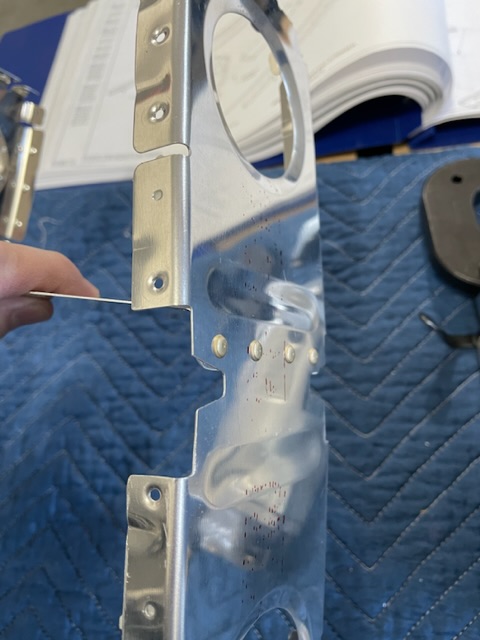

Drilling out rivets always makes me nervous. It usually ends well, but it’s always a possibility that I’ll loose something up so bad that I’ll wreck a part. Luckily, today was a good day, and the rivets came out with minimal damage. After a few minutes of checking and re-checking, I was back on my way and the assembly was finally right.
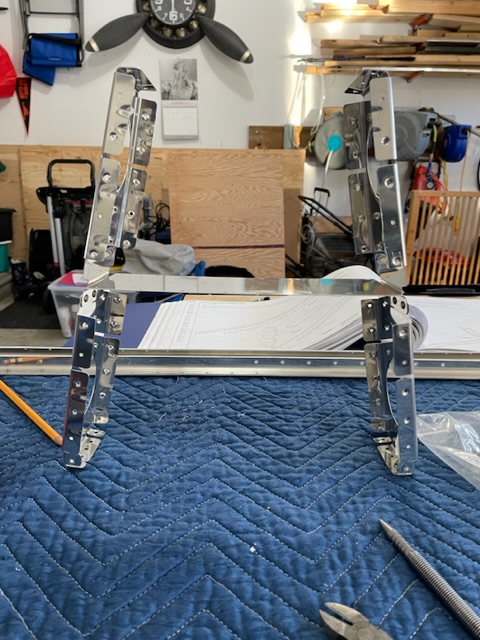
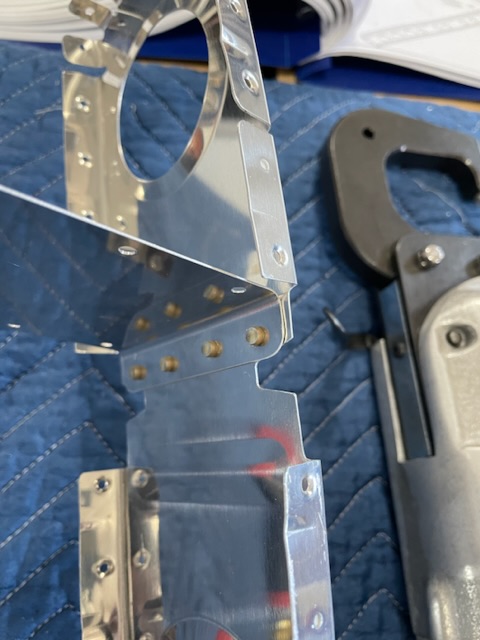
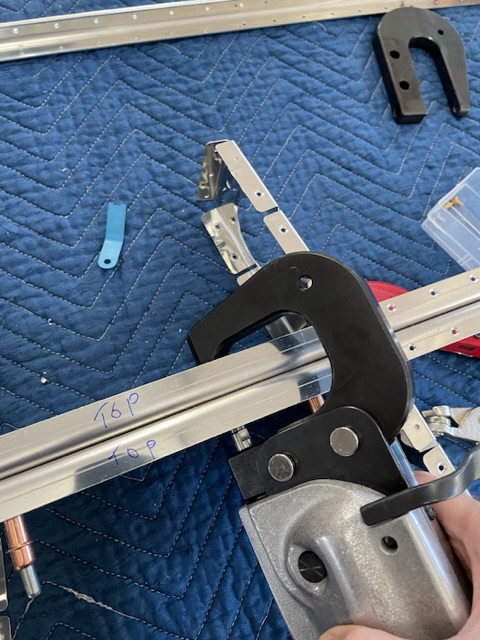
Next job was to attach the stringers. This was a great job for the squeezer with the longeron yoke, but required a bit of setup. The flanges of the stringers are wide enough that you have to set your squeezer opening with it hanging on to the work. I then did the whole side and re-setup on the other side. The one rivet at the four outer edges is a bit of a jerk. I tried getting it with the squeezer and found myself back to drilling. This was getting frustrating.
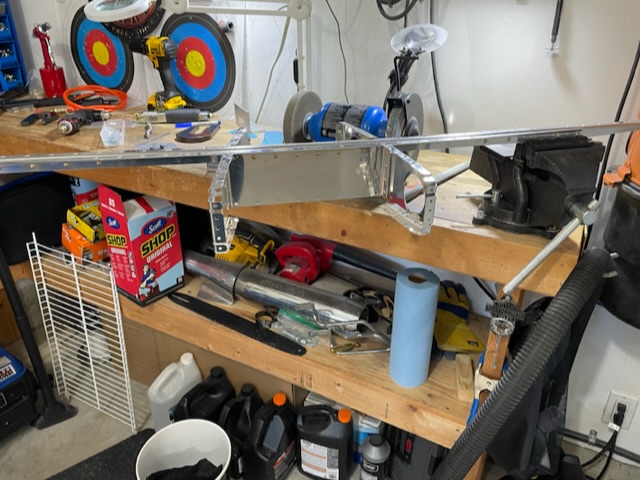

With what I thought was the end of the hard part, I could finally attach this hole assembly to spar, and rivet it the other ribs around it. As normal, the squeezer made short work of this, and I had the whole assembly attached to the spar! …backwards! Maybe this is when I should have quit for the day? Anyway, I didn’t. I just got out my drill and went back to work. I had to take out a couple ribs so I could slide the assembly out and back in the right way.
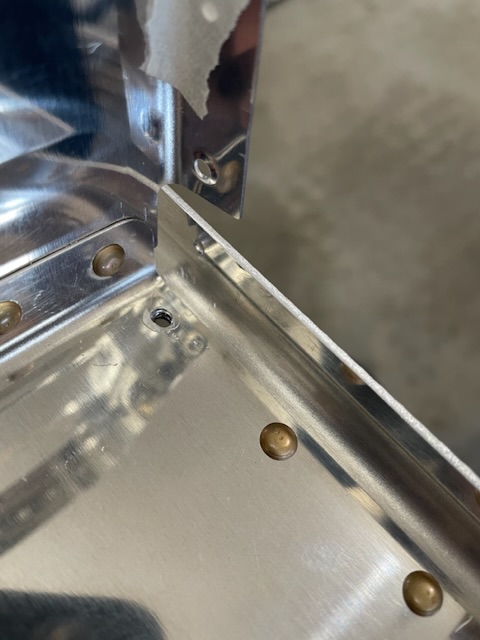
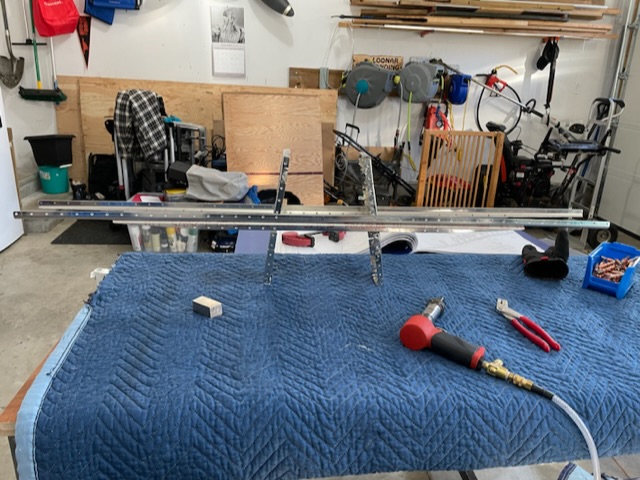
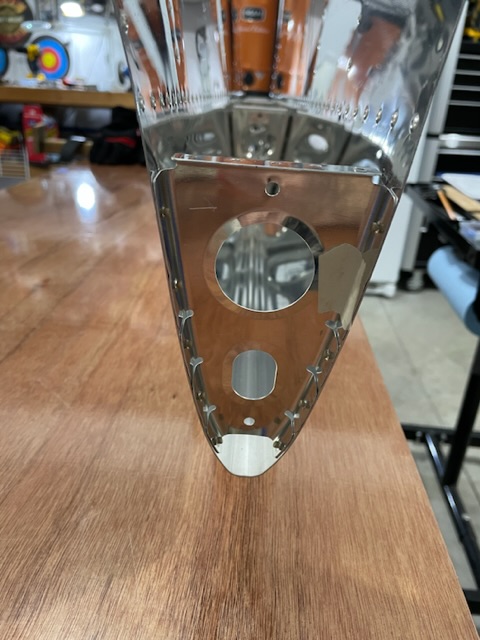
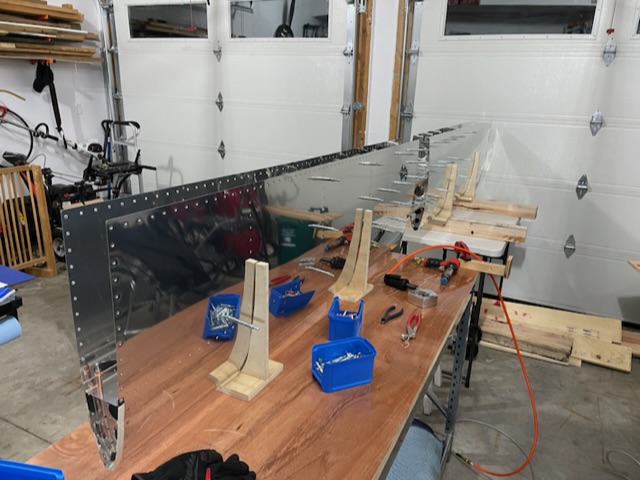
Now it was time to get the cradles back out and install the nose ribs into the skins. This was relatively drama free. I did “smiley” the skin a bit on one rivet, but it’s at least on the bottom. Not much I can do about it now. One day it will hopefully get fixed with a swipe of putty?
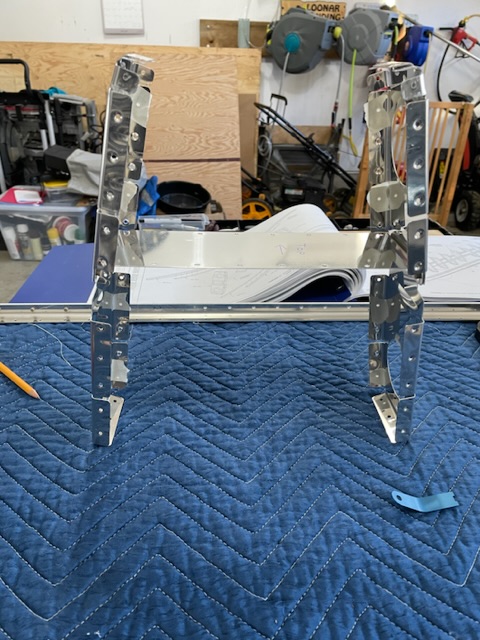
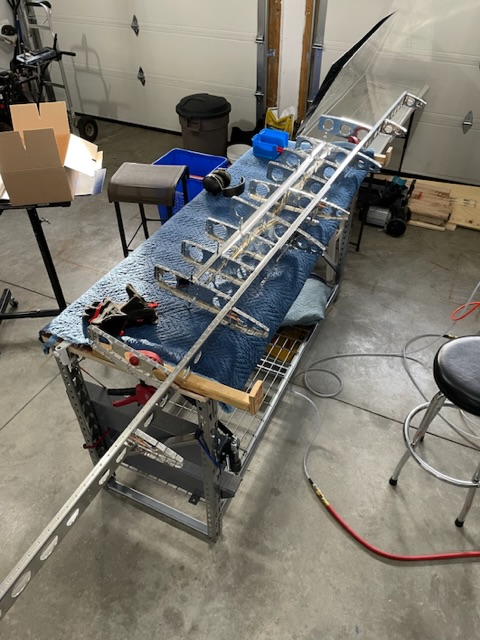
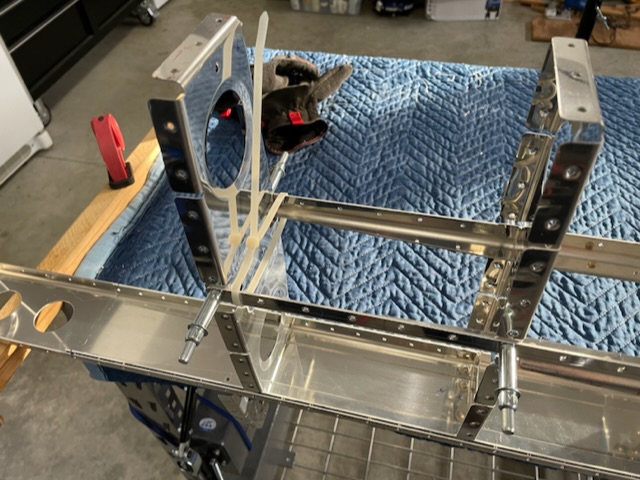
My final job today was to then cleco the spar and inspar ribs into the skins. I actually came up with a neat trick to help get it in smoother. I clecoed the stringers into place and then used a nylon tie to hold it in place. Once installed, I cut the tie to release the stringers that snapped out into the skin. To the next person, I’d recommend holding them while cutting rather than letting them strike the skins, but I got away with it. No dings. I then went to work with the clecos to make sure all the little tabs on the inspar ribs cause the spar and stringers, and placed a few more along the way to hold everything in place.
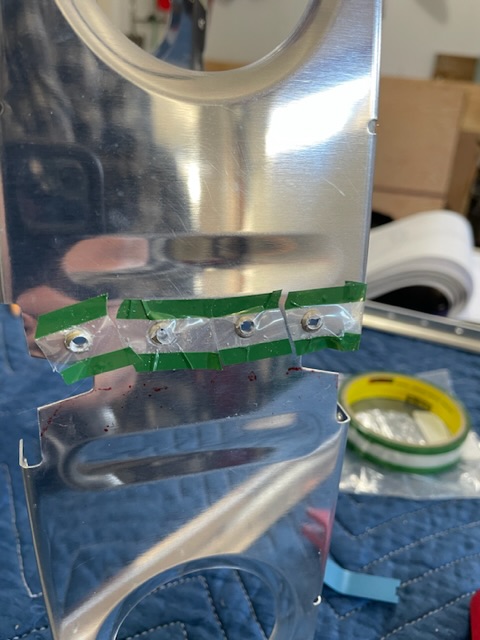
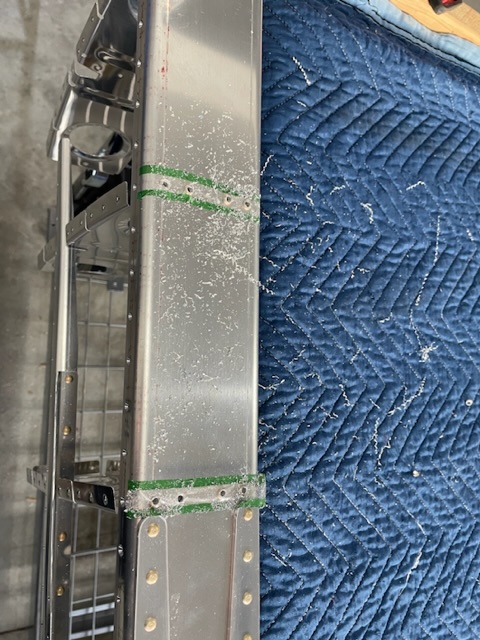
As I was clecoing, I noticed another mistake I’d made days ago. I forgot to dimple three holes! I’ll get them next time with the pull-rivet dimple die set before I go back to driving rivets.
