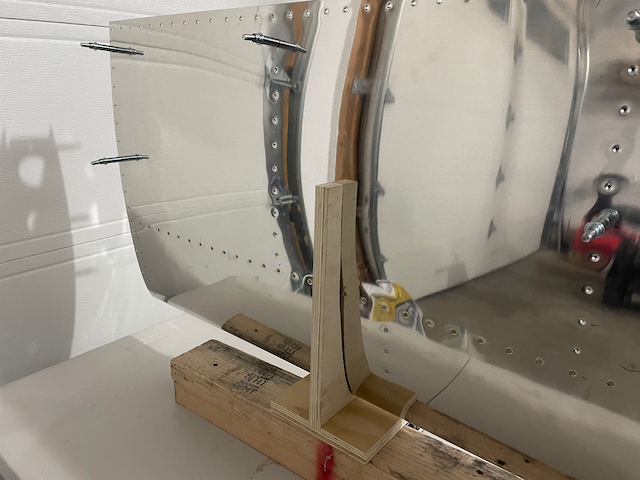
Day 46 and 47 Attaching the skin to the horizontal stabilizer spar
- Fred
- 0
- on Jan 11, 2023
With a ton of rivets to shoot, I was reflecting on what’s worked and what is still giving me trouble with attaching skins. One of my big concerns going in was that I may dent up my work with the rivet gun, or by bouncing the bucking bar around inside the stabilizer and make a bunch of scrapes and dings. I am definitely not completely free of dings, but this week I made some progress and came up with some techniques that are helping me a lot!
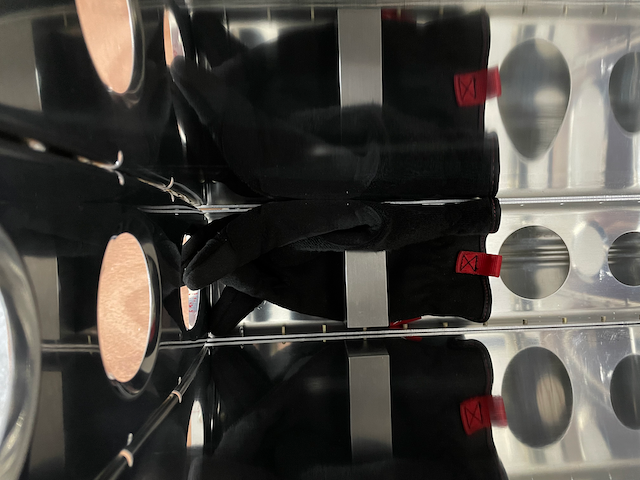
Use a glove
Using a glove is a technique I came up with when attaching the nose ribs. In that case, I NEEDED something to rest the bucking bar against because of how hard to reach it was. In the case of attaching skins to the spar, it was not nearly as tough of a reach, but I am now striving for better quality and decided that some protection for the bucking bar will help protect the skins and spar from dings.
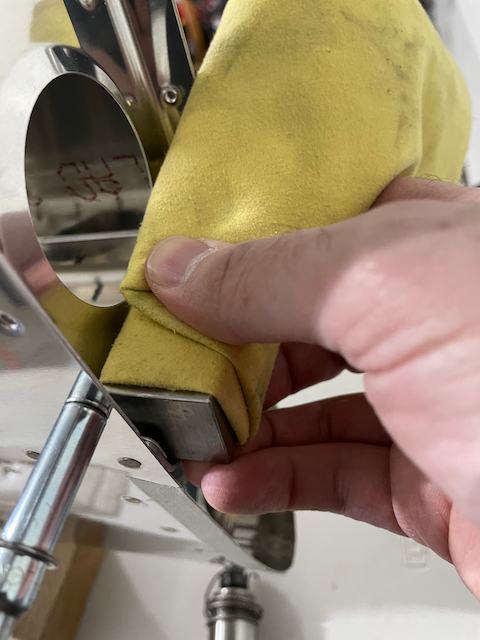
Using a polishing rag
Using a polishing rag to protect the spar worked better than the glove. The advantage is it could lay flat, and was easy to reposition the bar on as I worked my way along the length of the spar. This became the preferred technique. I posted it on the Vans RV Builders group on FaceBook. The guys loved the tip!
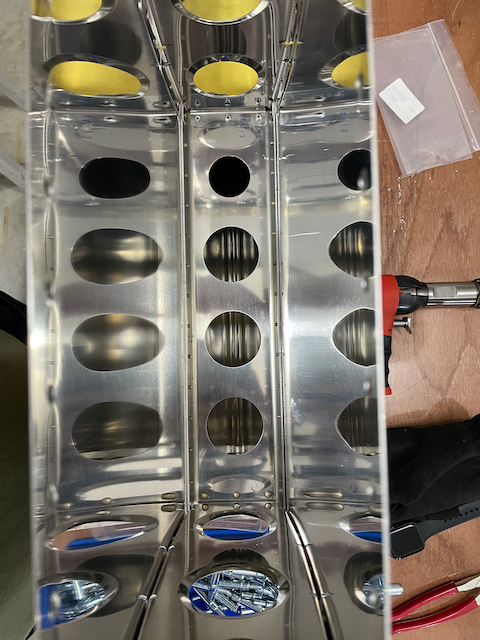
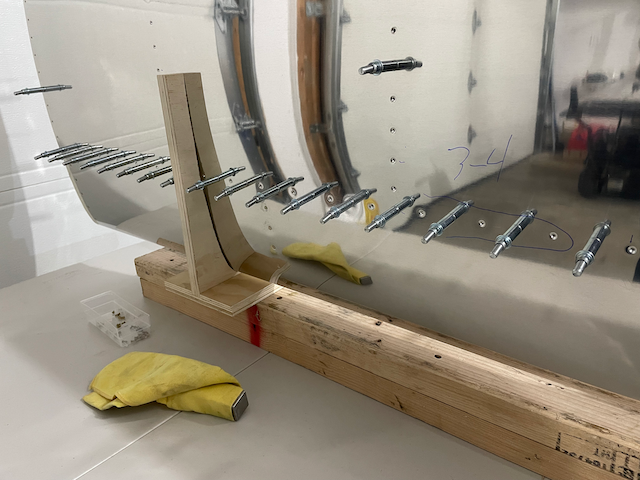
Taping the Rivets
This technique has been great, but comes with a bit of controversy. The advantage is that you can lay out a bunch of rivets and hit them in rapid succession. The disadvantage is you have nothing along the span that is holding the work in place. I think you could easily debate one side or the other. Several builders balked at this idea and suggested that I should really consider putting a cleco in every second hole to make sure thing moved and that all the pieces are tightly fit before riveting. This sounded like a solid argument, so I tried that the next time I was working on the plane (day 47).
Cleco In Every Second Hole
My goal here was to compare the results of pre-taping a whole row of rivets with minimal clecos to the extreme contrast of having a cleco next to every hole being riveted. The advantage here was a whole step of taping was saved. Depending how you feel about the rivet taping, this may be a good thing. In the end, I thought the results looked pretty much the same. I think this technique may have been MORE advantageous on a section where the skin was going over a curved surface. The spar is bone-strait, so the clecos were not working hard to hold the work down. The DISADVANTAGE of this technique is there is a bit more time spent jockeying clecos around and rivets have to be placed one at a time between each pounding. This added some time, but if you are not in a rush, it’s probably fine. If you ARE in a rush… maybe go do something else and come back another day before you make a mess of things 🙂

Another SMALL disadvantage here is the rivet heads tend to scratch a bit of the blue tape off the end of my mushroom head rivet set and leaves a residue that the rivet tape would have prevented here. This is not hard to clean off, but does create an extra step if you are fussy like me about that sort of thing. I think next time, I will try ripping the blue tape off the rivet gun and see if I miss it.
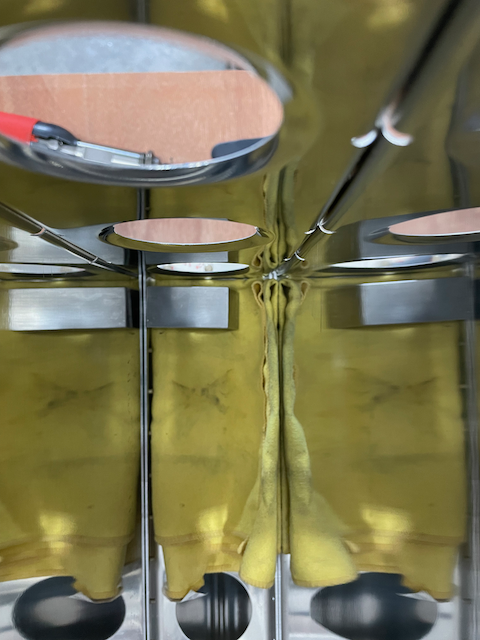
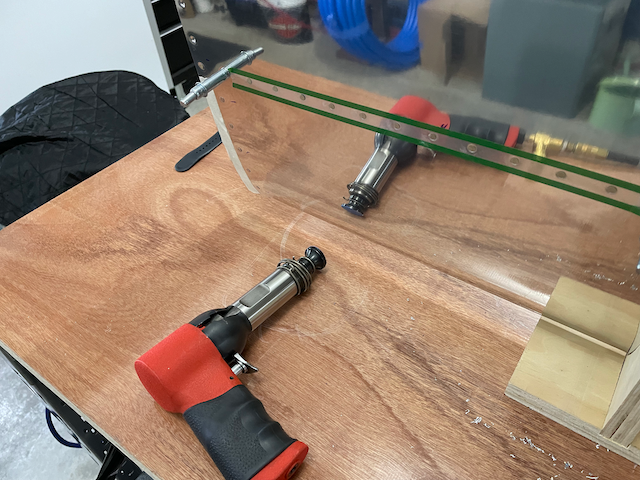
Bar In A Blanket
When working on the ends, I would once have gone strait to the squeezer. It’s a great tool and make the rivets go in easily. Today however, I was feeling brave and confident from having blasted a couple rows of rivets with the gun. To further my technique of using the rag to protect the work, I tried wrapping the tungsten bar so that I could jam it right in against the outer edge of the stabilizer. This worked like a charm.
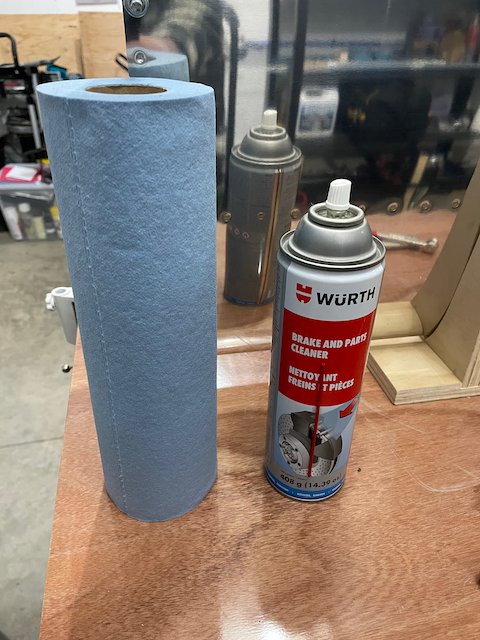
Cleaning Up Sharpie Marks
I think it is pretty common knowledge that using some iso alcohol will take the permanent marker marks off your aluminum in a single pass. This is great, but I am not a fan of dabbing the bottle on the shop towels, and eventually my wife will want her nail cleaner back! I was looking around my shop for an alternative. I found one! I have this aerosol can of “Brake and Parts Cleaner” that a mechanic buddy (thanks Russ!) recommended for another task. Turns out, you can spray a liberal dose of that on a shop towel and clean up large surfaces in seconds. This is my new favourite spray! It’s convenient and it’s cheap! Maybe I will buy a bunch and re-brand them as “aviation parts cleaner” 😉