
Day 12 and 13 – Rudder – Counter balancer and riveting the skins
- Fred
- 0
- on Aug 17, 2022
Day 12 was a day that proved something. When I was starting this project, I had two options. I could setup in the garage at home, or I could setup in my hangar at the airport. The hangar is of course ideally suited to the task, but I chose the garage for two reasons: 1) I can get out “for a quick half hour” one day if that is all I have available, and 2) It’s not good for your relationship with the wife to spend 5 years at the hangar! So, on this night, with only a half hour to spare, I got out and drove a handful of rivets. The task was to button up the lower rib in the rudder. This was the first time on this project that I have used the rivet gun, other than for back riveting. I am still getting the hang of “what setting” to use, but I am getting better as I use it more. I managed to stay ON the rivet in all cases, so that is good.
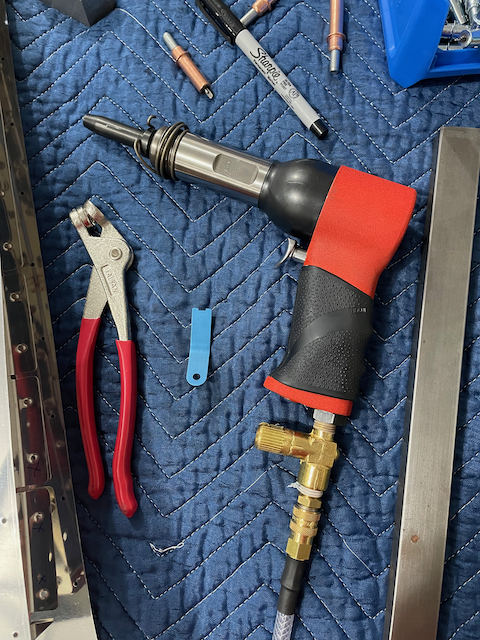
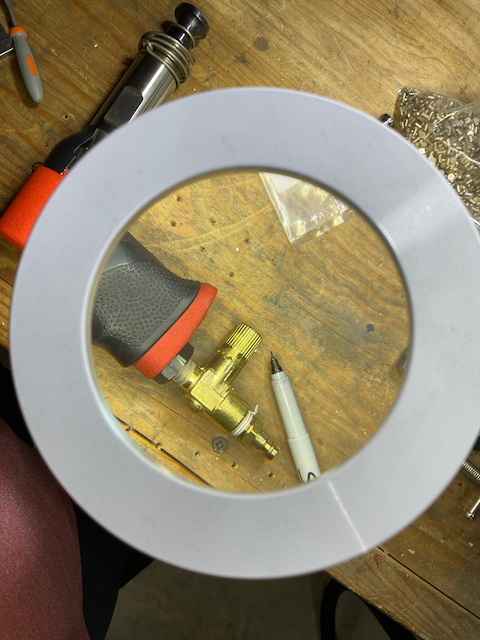
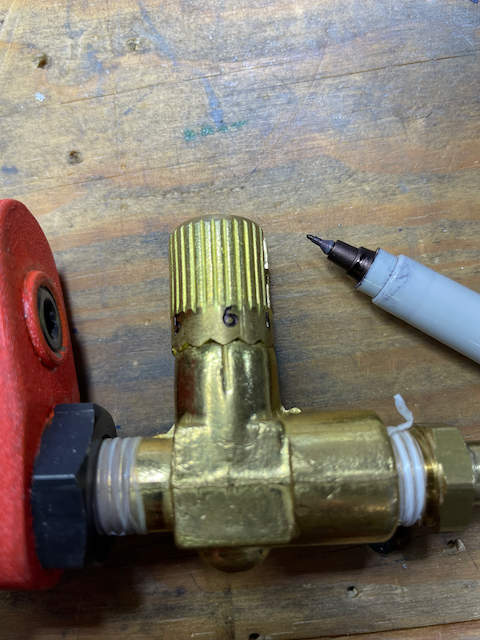
Day 13, the rivet gun was once again called to action, and I paid a bit more attention to the flow restrictor. Two things gave me a challenge. Firstly, I did not immediately understand that you can wind it MULTIPLE times to increase/decrease the airflow a lot. I thought it was just six settings with some intermediate notches. Second, I can’t read the little numbers. I fixed this by getting out the sharpie and blacking up the numbers. MUCH better!
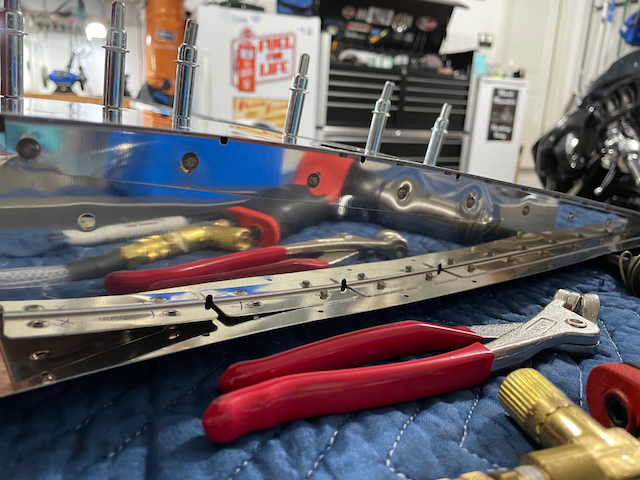
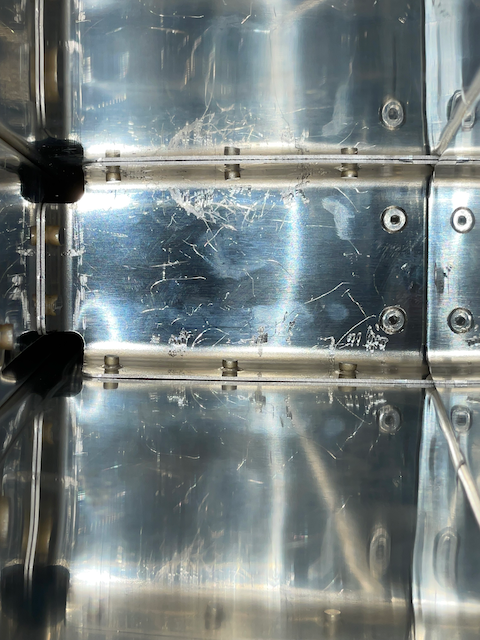
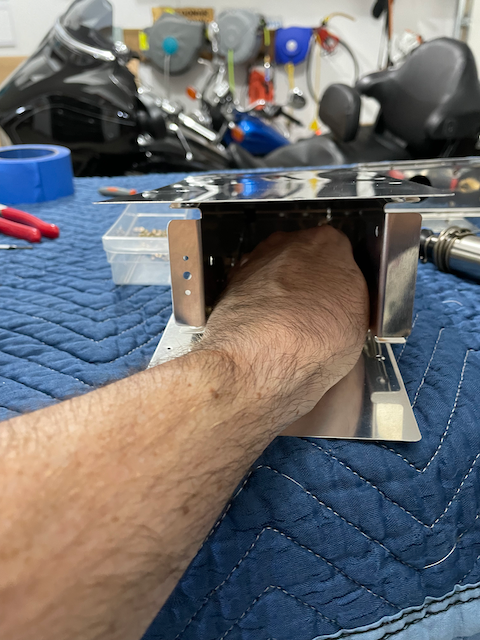
I am not sure if I would have been better to do this step BEFORE putting in the counterbalance rib, but I had to rivet the skin with access through this skinny little opening where the counter balancer would eventually go. I experimented with using a very small tungsten bar, and a long skinny one. Pick your poison… It’s just a pain. It ended well, although I dinged up inside the spare a bit from the bucking bar bouncing around in a loose grip.
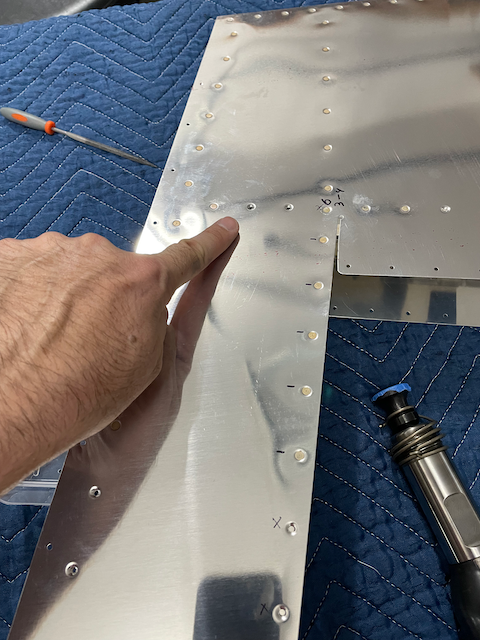
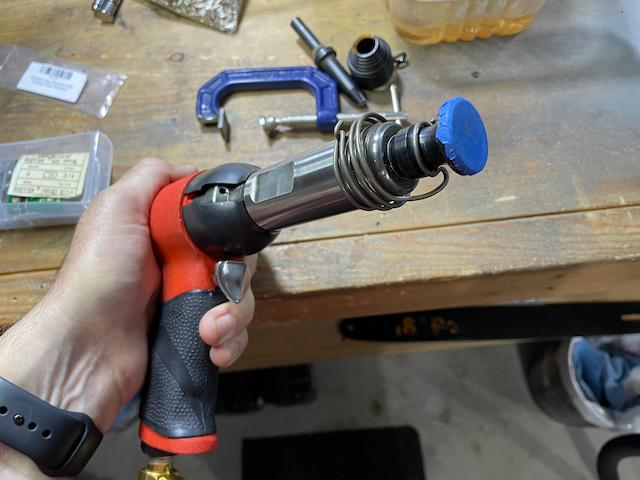
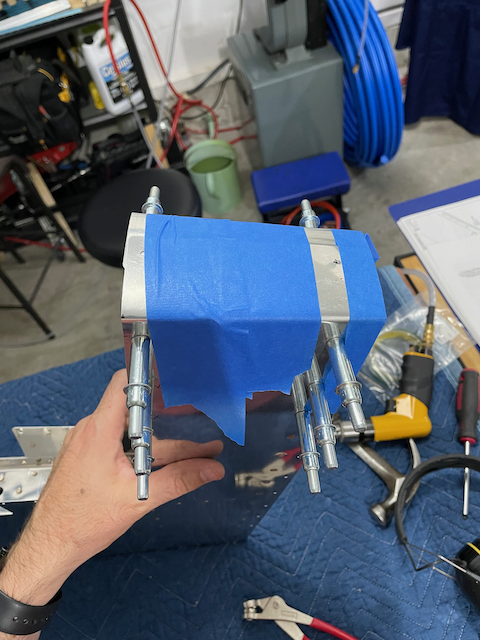
I would like to take minute to talk about taping. One thing I find over and over, is that taping helps reduce the scuffs on the work. This is true wether shooting or squeezing. For shooting, I ALSO like to tape the head of the flush rivet set. I heard this tip from Paul Dye, and I have used it since. I use a blue painters tape, and change it when it gets worn. A bit of “goo gone” helps clean up the old stuff before putting a new layer on.

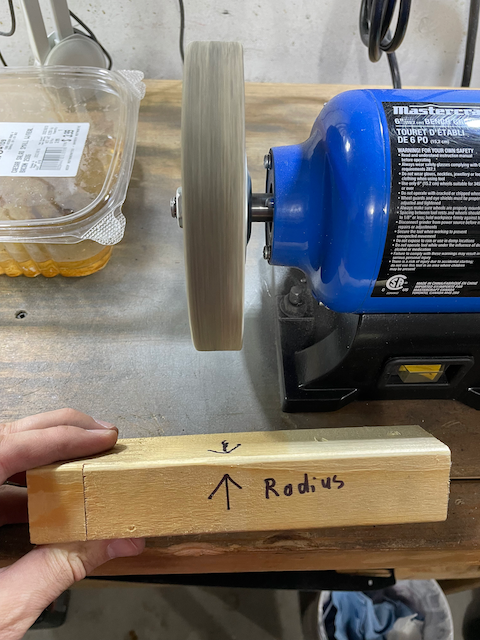
The counter balancer is a fair bit of work for such a simple thing. Maybe it was just cause it was later, but I read the instructions a few times before drilling anything, and then went back over them at every step. As the rudder is NEARLY done, I REALLY don’t want to screw it up! It is ready now for the final step which will be installing the nut plate and screws.
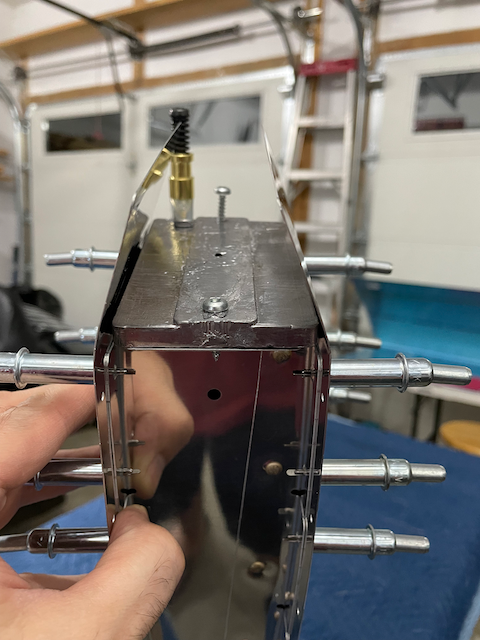
At this point, I finished riveting the skin to the rib in two lines that ran it’s length. Some of this was accomplished with the squeezer, but much of it was done with the gun. Much like at the top of the rudder, my biggest challenge was keeping a firm hold on the bucking bar. I have a couple dings to remind myself of that, but nothing that you’ll notice if I don’t point it out. I hope I have learned this lesson enough now!
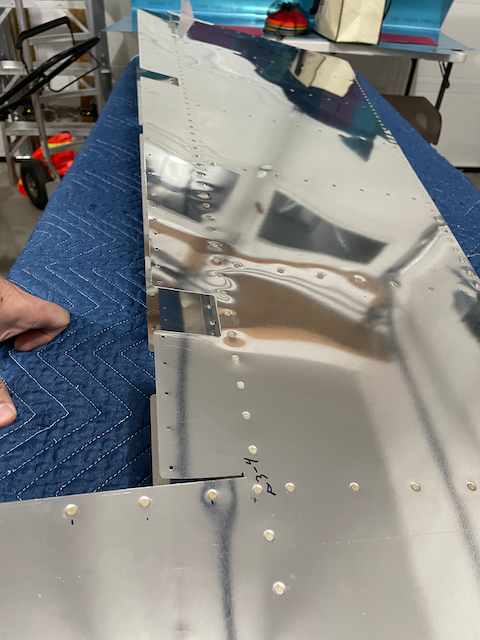
Now the Rudder is REALLY looking like an airplane part and I am just about done! This is very exciting, and the more rivets go in, the more I realize that I CAN do this and it WILL be done one day! I think I will stop short of making the rounded edge on the rudder. I worry that my pre-cover inspection won’t go well if the inspector can’t see in the lightening holes.