Day 14 – Rudder done!
- Fred
- 0
- on Aug 18, 2022
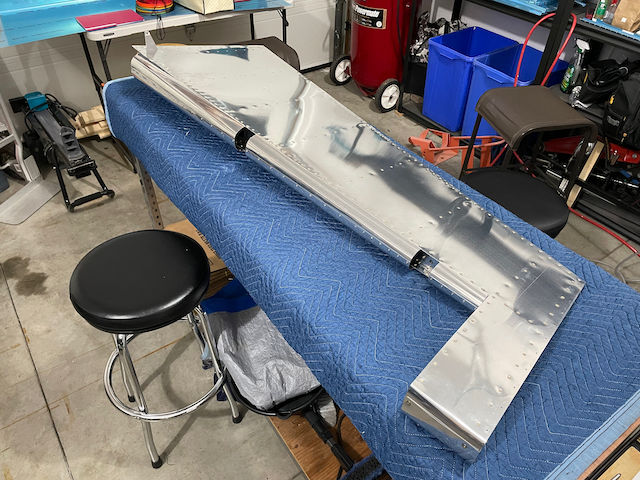
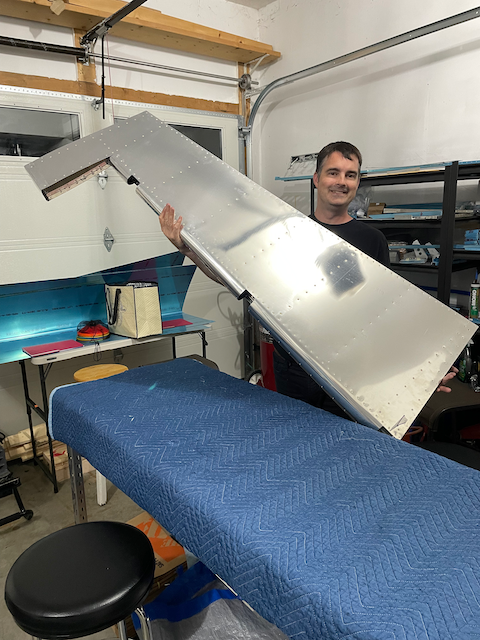
Today is a great day! The first full part of my plane is built! After weeks of working, making mistakes, fixing them, I finally have something to show for all my hard work. Now that it is done, I have a new problem: Where do I store this part to keep it from being damaged for the next couple years? I think I will section off a corner of the basement and wall-mount the parts.
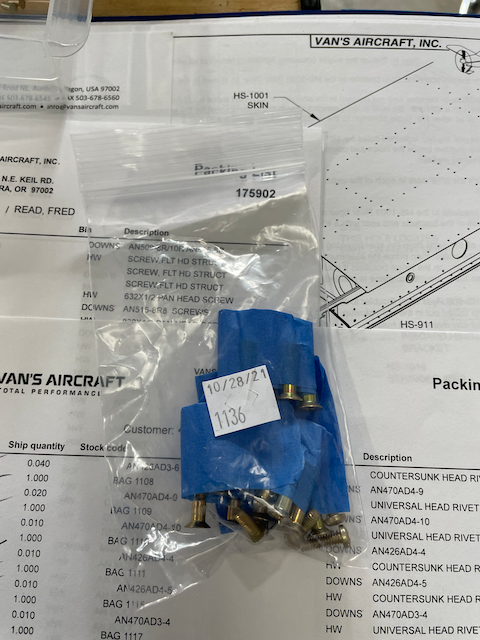
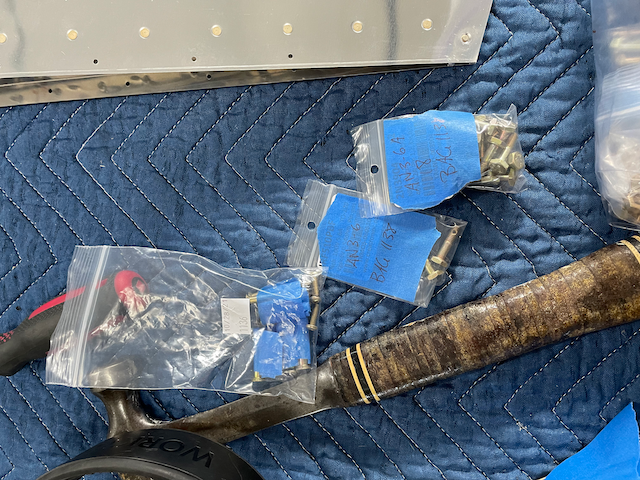
Speaking of organization… One thing that helped tremendously was the pre-sorting of parts. During the inventory, a friend (Bryan Bagi) helped go through all the bags of miscellany and carefully label everything! In preparation for today’s work, I was able to use the parts inventory to easily locate the bits I needed using the bag number from the list.
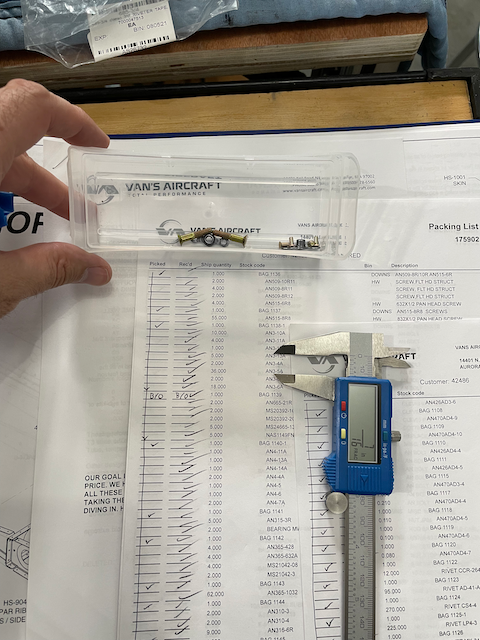
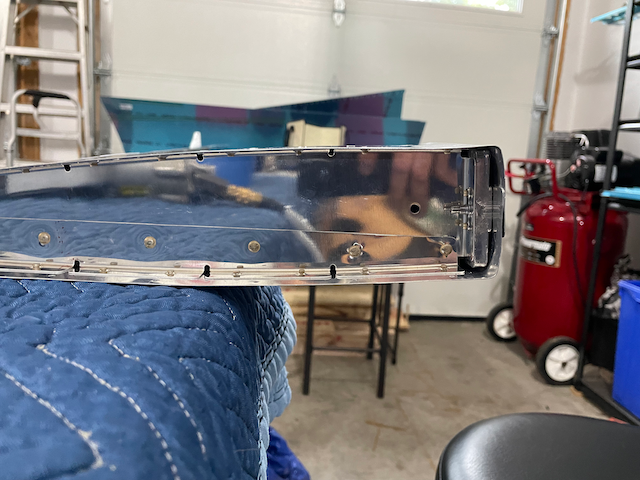
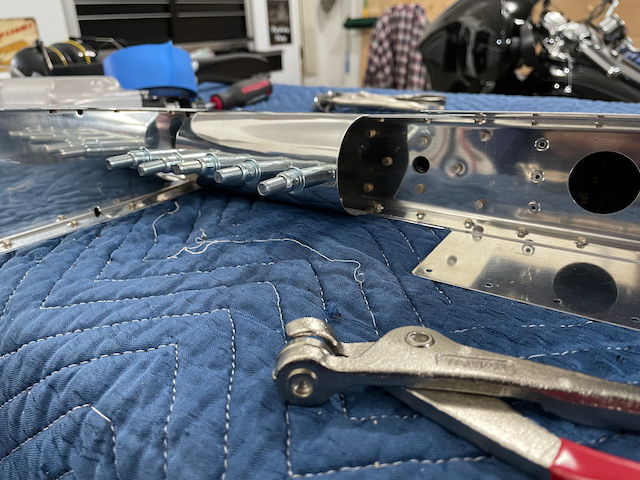
With all my bits in order, I started on the first task of finishing the counter balancer. To do this, I had to install nut-plates, do a bit of careful dimpling and countersinking, and screw everything together.
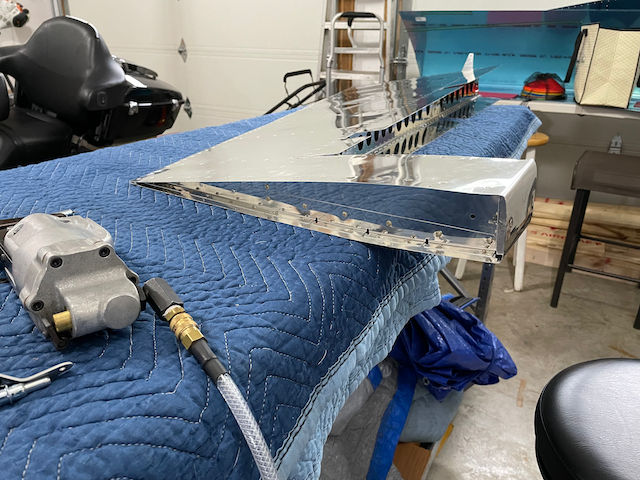
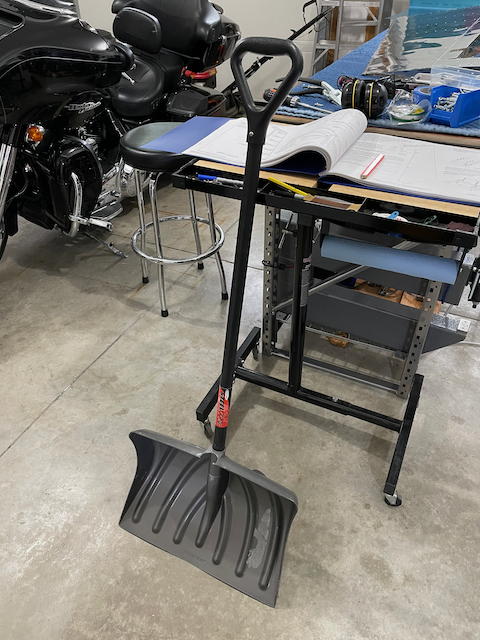
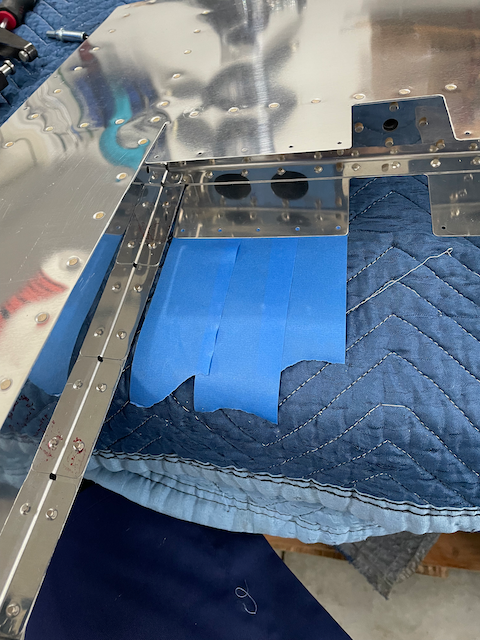
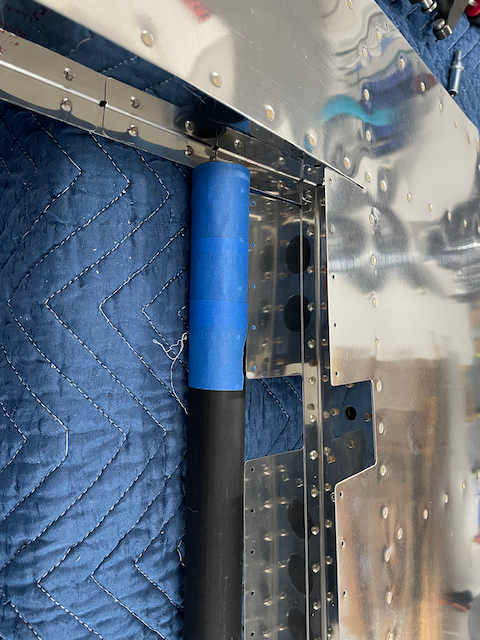
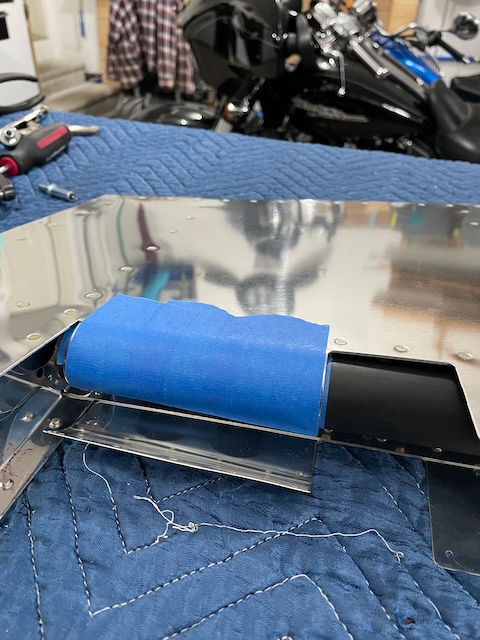
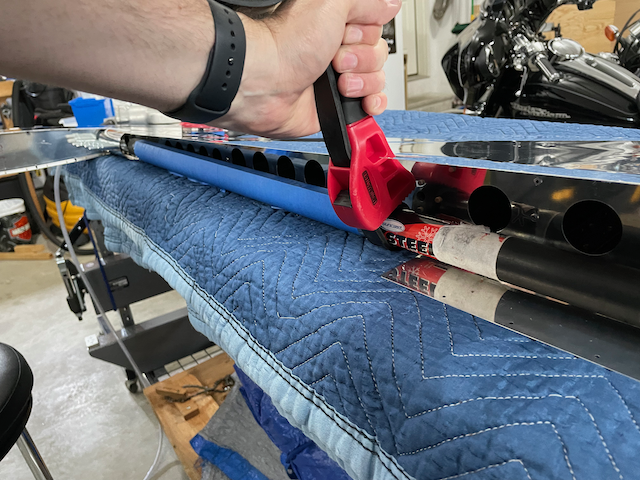
Next up, was a task that required a bit more creativity. The instructions called for something to roll the leading edge with that is 1 1/4″ in diameter. I scrounged around the house and eventually found a snow shovel in the shed that is ideally suited to the task! I chuckled a bit, thinking what an unlikely tool this was for airplane construction, but it did the trick! I rolled one section of the leading edge at a time, using blue painters tape to hold it on. The first section, I was able to do entirely by hand, as it was not very big. The rolling job was followed by a round of squeezing the skins together and putting in clecos to hold it all in place.
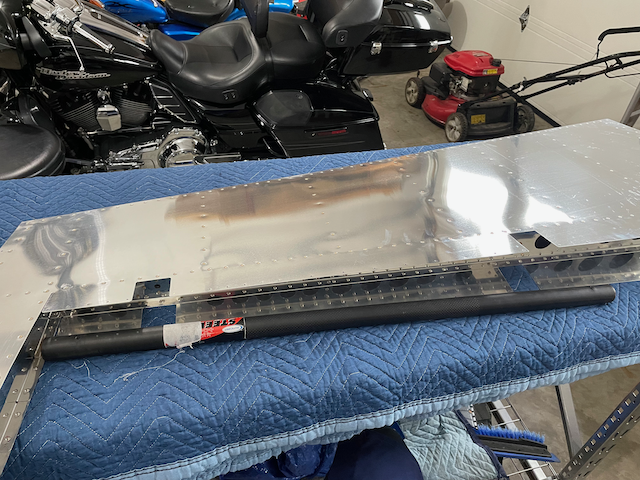

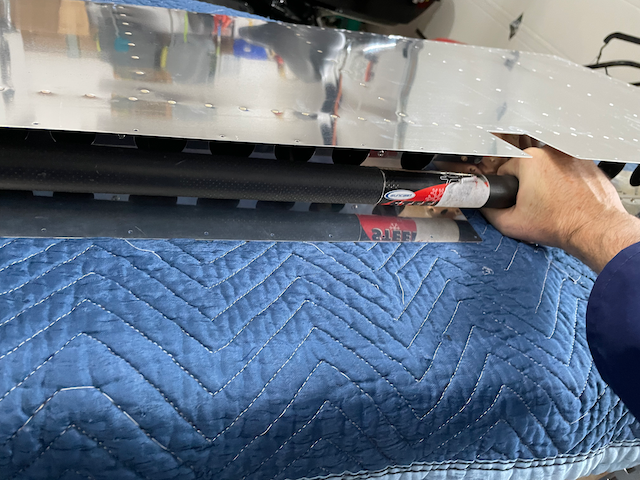
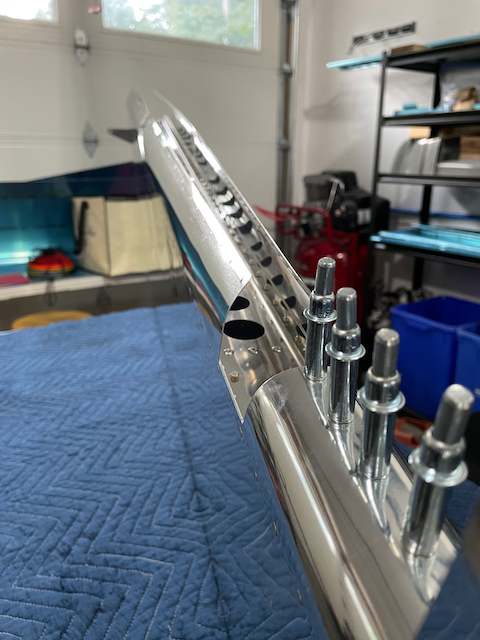
The larger sections were A LOT harder, but I found a strap-wrench in the bottom of my tool box that worked brilliantly to put a twist on the work. Also, while twisting, it was important to push “down” to keep the work from bending at the edge of the rib. The strap wrench was ideally suited to this task.
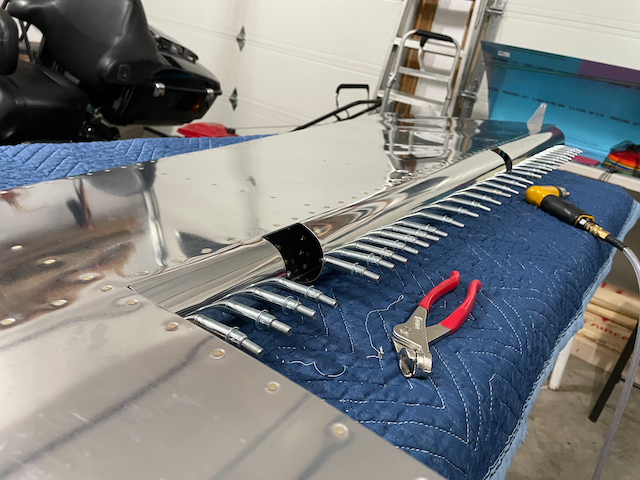
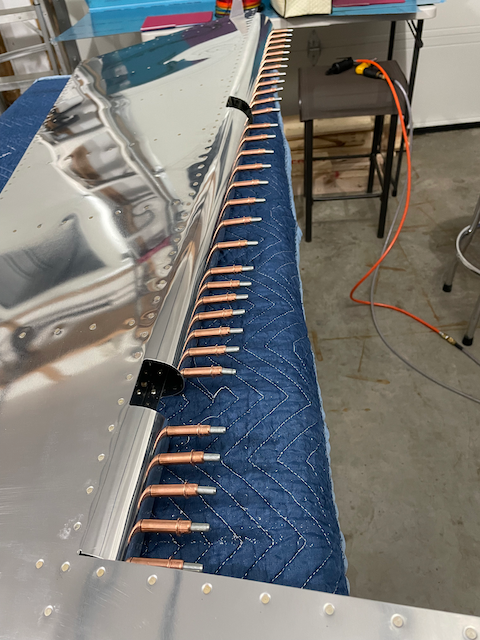
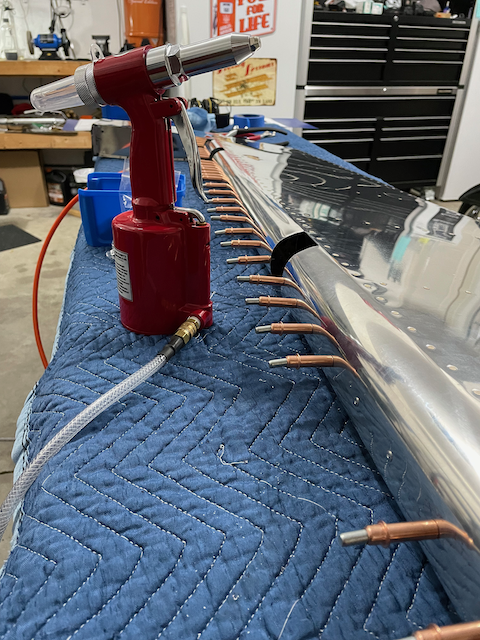
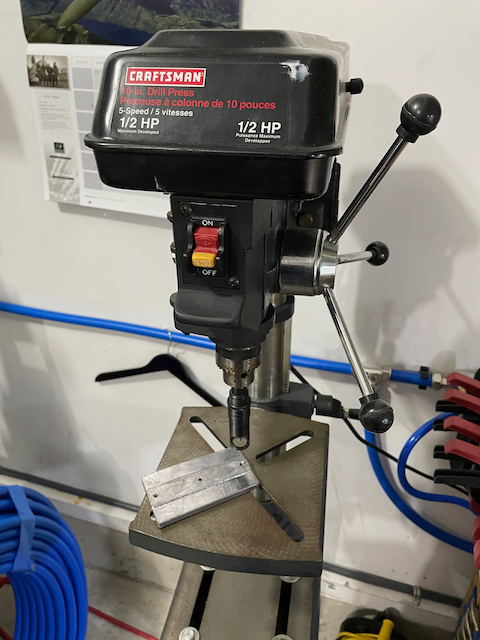
After everything was all clecoed up, I had to up-size all the holes from “silver to gold” (#40 to #30). Then after they were ALL “golden”, I had to take them all out and deburr before the final phase of riveting them all! The instructions carefully mentioned how painful it would be to drill these out. I considered that with every blow that the rivet gun made! Lucky for me, I made NO mistakes, and the rudder is COMPLETE!