Day 11 – Rudder – That ONE Rivet
- Fred
- 0
- on Aug 15, 2022
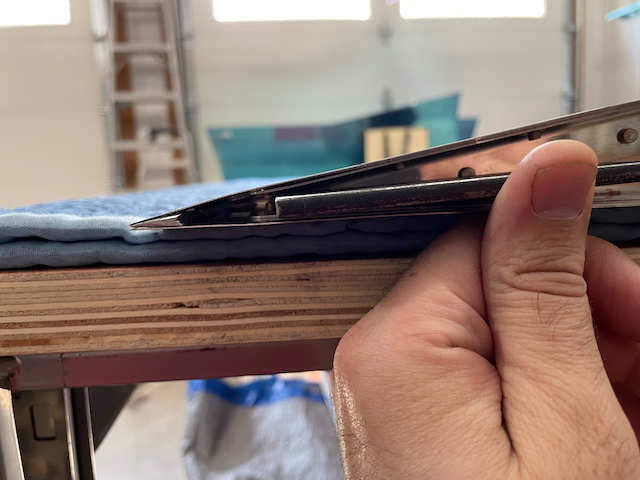
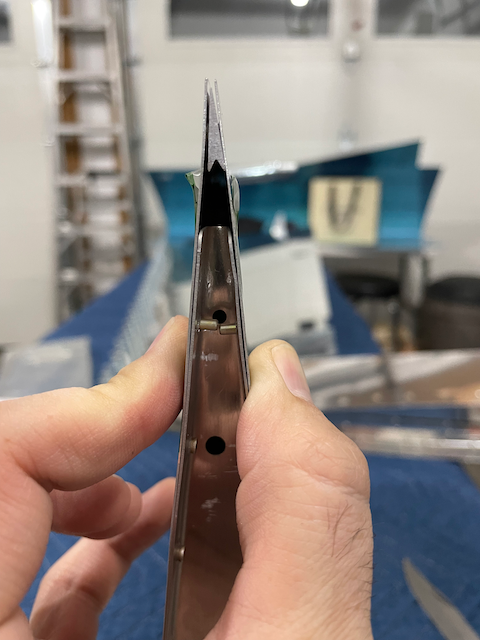
On this day, I spent most of my time working on ONE rivet. If you are a builder, you likely already know where this is going. I recently posted about this problem on FaceBook and I got a list of possible solutions that I tried on a practice piece and in the end, I did what I feel is a mediocre job. The rivet is.. there… but I am 90% sure I will go back and re-do it one more (5th) time. Every time I drill it out to try again, I hope that THIS won’t be the time that I wreck my rudder and that THIS will be the time I get it right. I did a few practice runs on a practice kit and I don’t feel any of the techniques quite solve this problem yet. The EAA Indirect Riveting method looks like the best one on paper, but even in their demo, they don’t go NEAR the rivet I am trying to get. I am going to continue bashing up my practice piece and see if I can REALLY nail this down.

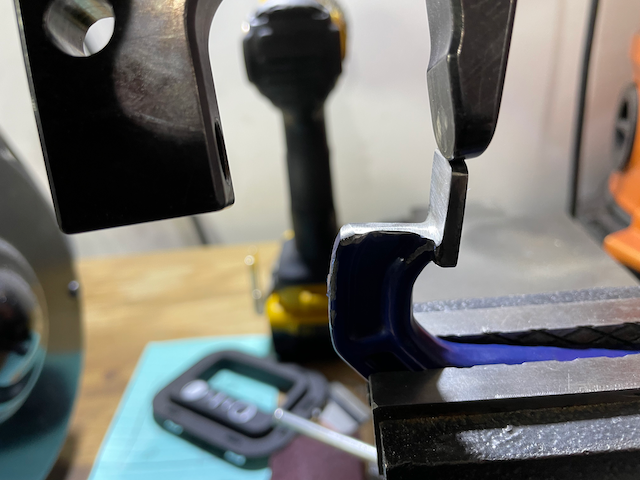
The first thing I tried was a recommendation to “use a screwdriver between both rivets and drive them both at once with a back rivet plate underneath. This did not work for me as one rivet would bend over since they did not meet squarely.
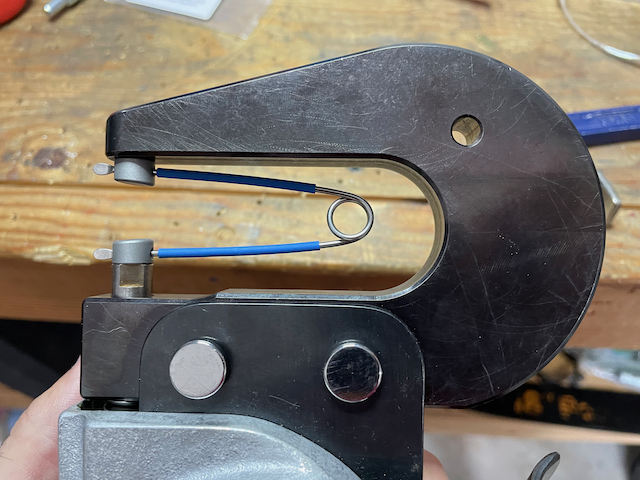
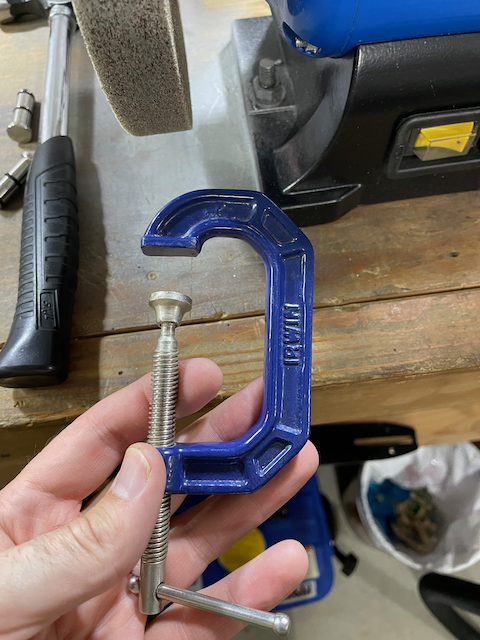
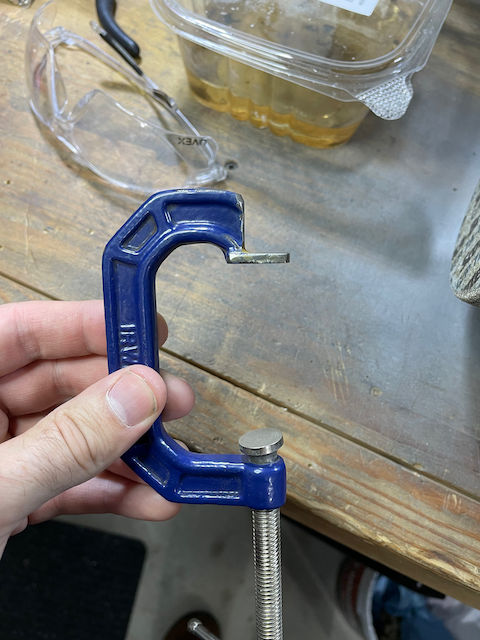
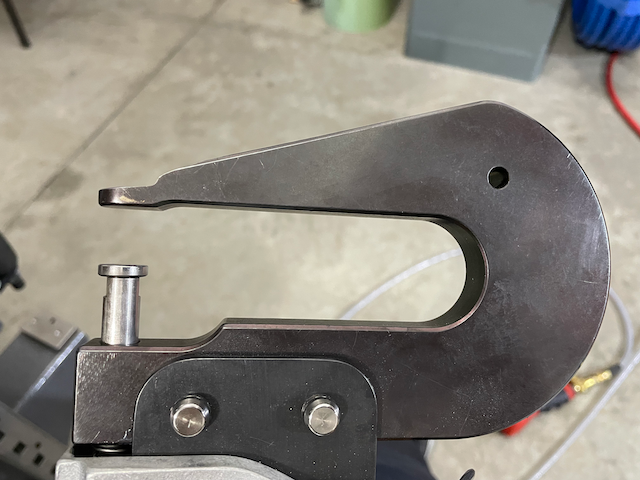
Next, I decided I was going to create “the tool”. I set off full of hope that between what I had in the shop and my bench grinder, I could create the ultimate squasher! First victim, was a little c-clamp. I choose it because it is cheap to replace. In the before and after, you can see how I formed a tool that was thin enough to fit in that tight space. It DID fit, but would not close squarely. The round pivoting head would have to be placed exactly centerd over the factory head, and the little lip I made was not long enough to do that. I was worried if I ground further in, I would just snap it. As I was grinding, I kept dipping my work into a little container of water I had handy to keep the work from overheating. I was worried that I may wreck the temper of the metal if it got too hot.
Next, I tried altering my no-hole yoke. It was already ideally suited to the task, and just needed to lose a little weight. I went to work to see how close I could get it to the profile of the c-clamp. I ground it down till I lost my nerve to make it thinner. It was thin enough that I was able to SORTA set the rivet, but only after uncomfortably bending the rib out a bit.
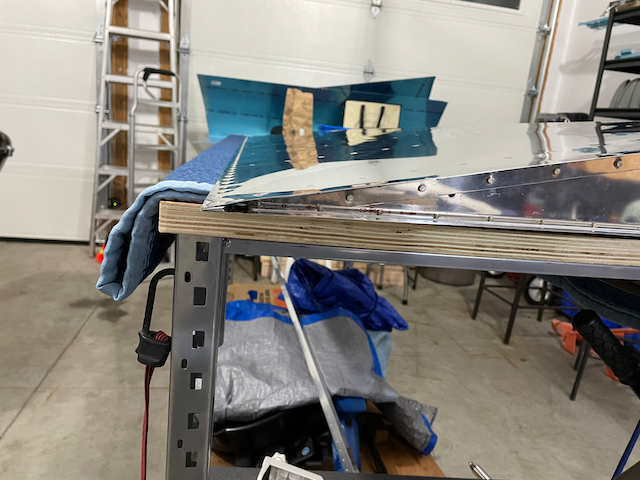
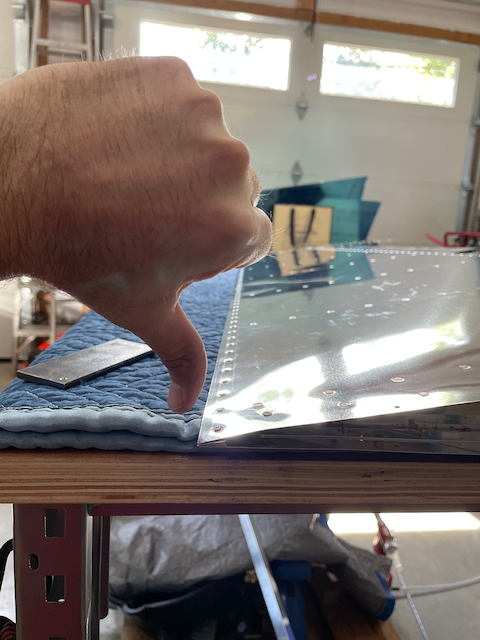
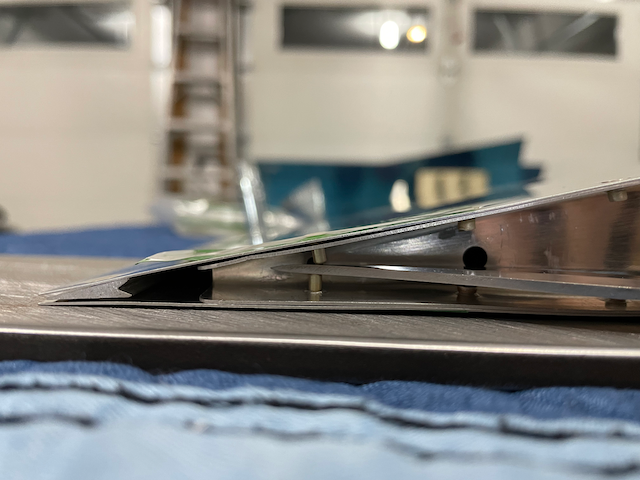
After all the grinding and drilling, I am still not thrilled with my work. At some point, I decided to stop before I broke something and moved on. Looking back, I kinda wish I had not finished the trailing edge because that limits the “bend it out” option for squeezing.
After all of this, I made myself feel a bit better by attaching the rib! This really made the rudder feel solid. I am looking forward to putting the rest of the rivets into it next!
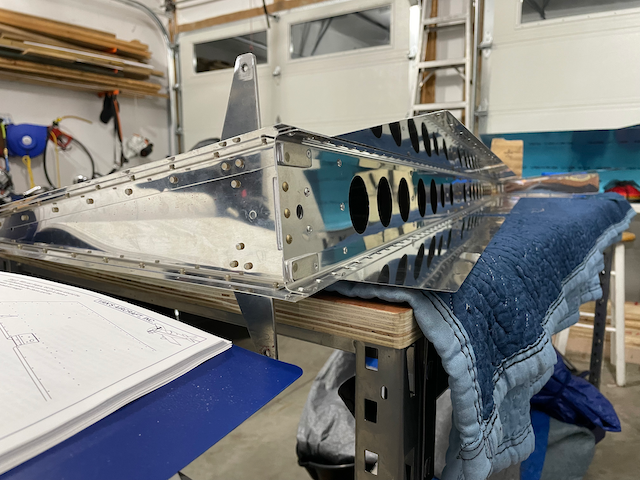
And finally, the BEST part was finishing the trailing edge. I was fortunate enough to have the trailing edge squeezer set that Cleveland sells. It is worth EVERY PENNY! The job was done basically as fast as you can drop in rivets and pull the trigger (with the appropriate dose of caution to line things up).