Day 9 and 10 – More work on the rudder
- Fred
- 0
- on Aug 14, 2022
It’s been a busy few days, and I have not had time to update my logs, so here is three days in one! Day 9 and 10, I was focused on closing up the rudder skins. I started off with attaching the top rib to the skin. This will be the last back riveting I do on the rudder I think.
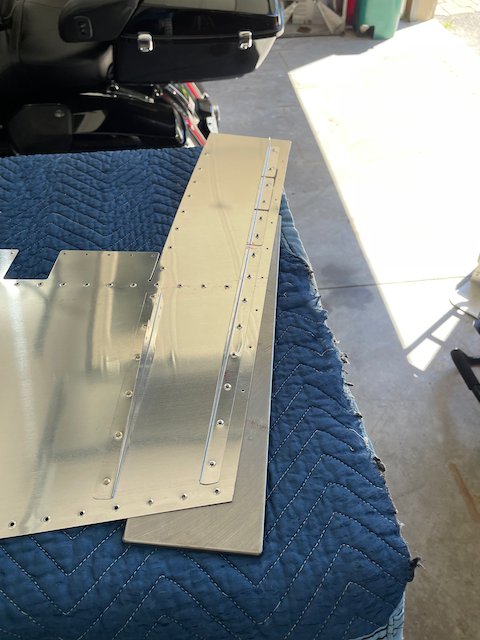
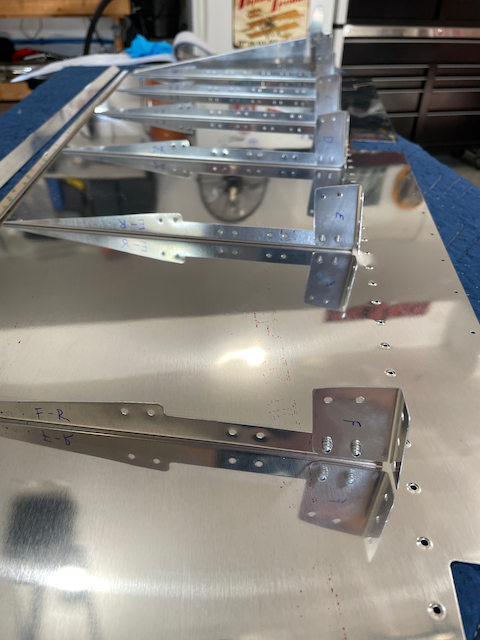
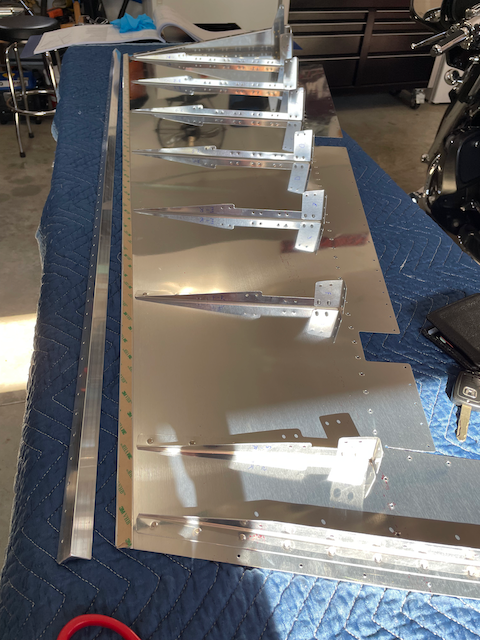
The next phase was to attach all the shear clips. This job went quickly, and I was able to do all of the work with a pneumatic pop-rivet gun. Wow, this is SOO much easier than shooting or even squeezing rivets. No guess work or tweaking…. just pull the trigger and KABLAMMO, you’ve got a perfect rivet! I can understand why someone would choose a plane that primarily uses blind rivets. With the shear clips installed, I was able to put the two skins together. This required a bit of help to hold the skin up high and lower it one clip at a time so I could get my hand in with the pop rivet gun. In the tighter spaces, I needed to use a manual one, but only for a couple rivets.
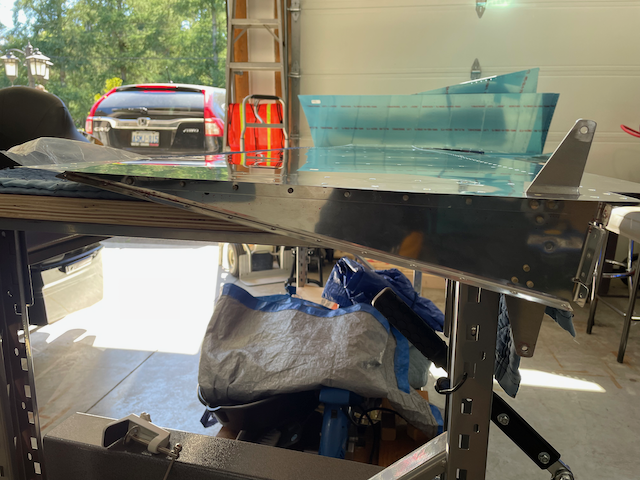

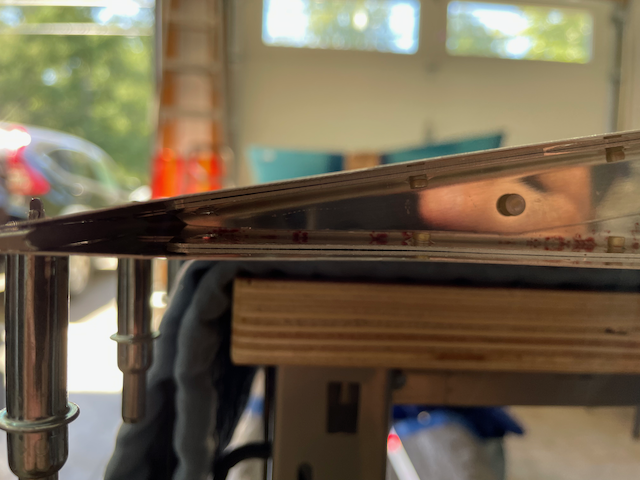
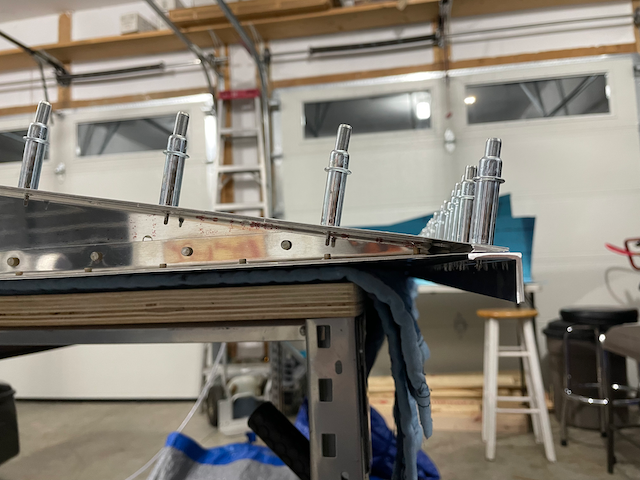
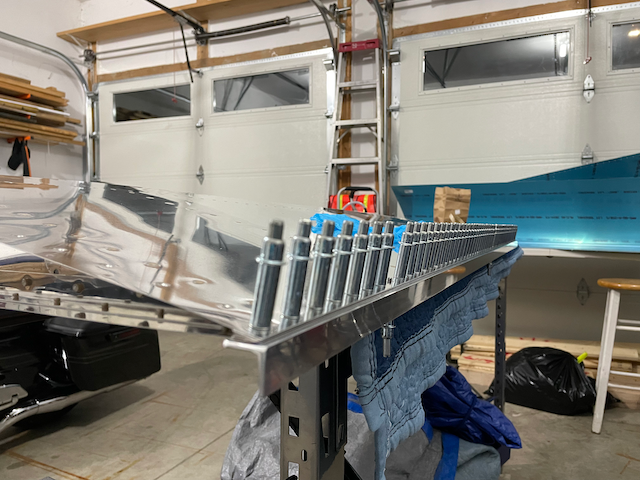
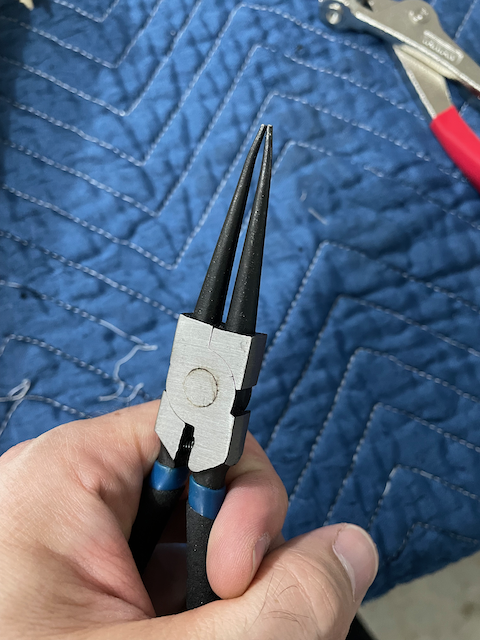
I then turned my attention to the trailing edge. I had previously made up a full length “clamp” using a piece of aluminum angle. I was determined to use it, but in the end, I am not sure it did me any good. Thanks to a follower, I used the double sided tape to set the edge, rather than pro-seal. I removed one side of the tape at a time while it was held with clecos. I took out about 8 clecos ahead as I peeled the backing out. A couple times, it started ripping, and I used a pair of snap ring pliers to fish out the backing before I lost it. I clamped everything together and let it sit for a few hours to cure.
Next was a job for the squeezer, which was to finish attaching the skin to the bottom rib. Nothing really complicated here except I caught the shop head of a perpendicular rivet a couple times while squeezing. I eventually learned to be more careful, and did not end up breaking anything though.