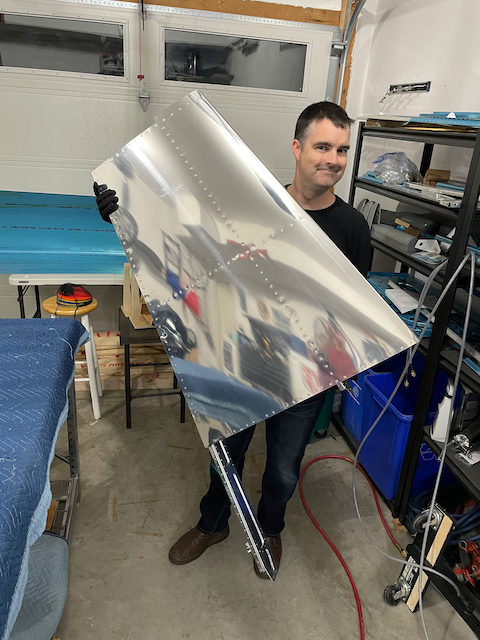
Day 37 – Vertical stabilizer done!
- Fred
- 0
- on Dec 01, 2022
After a long day of driving rivets, the vertical stabilizer is finally done! I was loathing having to “reach inside” to buck rivets into the stabilizer, but like many things, it was not so bad once I finally got started.
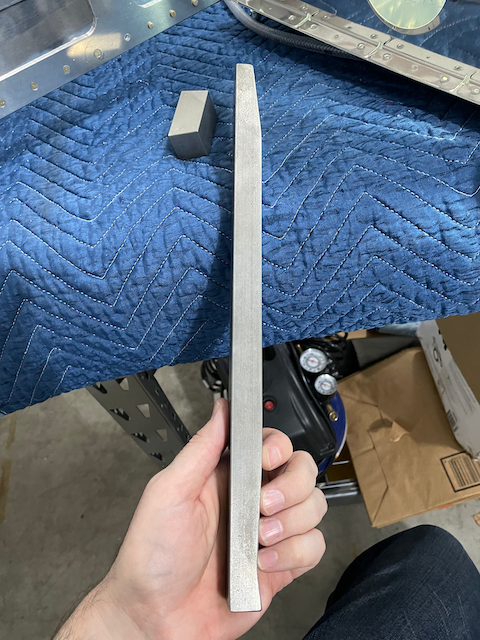
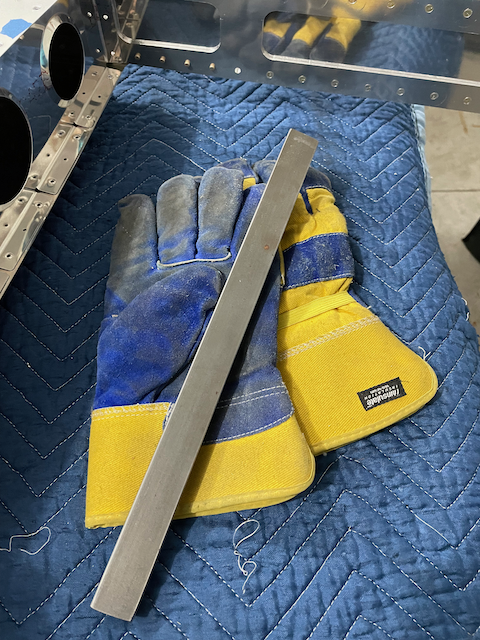
The first challenge was riveting the skin to the middle in-spar rib. I called a friend last-minutes to help, but he was busy so I was forced to get creative. For the most part it was not that bad, except for the one rivet at the very front of each side. I found it was very hard to hold the bucking bar at the right angle without having it bounce off the skin on the other side. I needed a way to hold the bar in place with little clearance and at a full arms reach. The solution I came up with was to dig out the LOOONG bar that Cleveland sold me, and use the end of it. It was perfect because it it long enough to reach the spot, and thin enough to fit in the low clearance I had to work with. Now the question was, how do I hold it at just the right spot without bouncing into shiny parts? The answer was to slide it up to the rivet, sitting the bar on a glove inside the skin. A folded up rag or towel would have also worked, but this was the first thing I saw. Thanks Jay for leaving your electrical gloves here! 😉
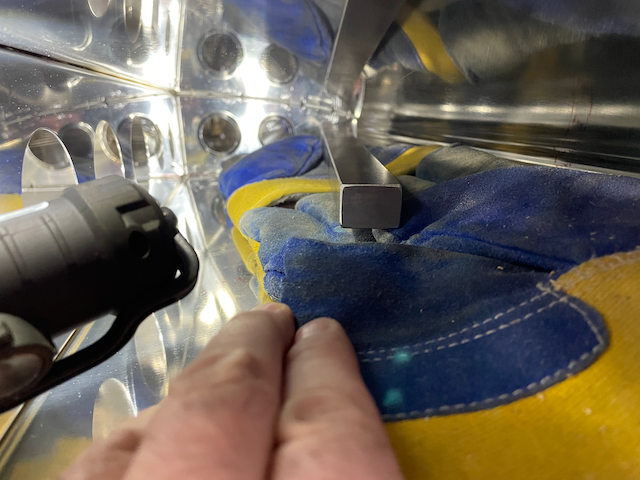
The second phase was the part where you have to attach the skin to front spar. For that, you have to peel back the skin and reach under with your smallest bucking bar to set the rivets. This was the part I dreaded the most, but it was no big deal at all. One thing to be careful of is your alignment of the flush rivet set against the skin. If it’s not sitting flat, it’s pretty easy to damage the skin. It’s easy to misjudge the angle while you are peeling back the skin. Consider the angle that the flange is at beneath the skin and do your best to match it.
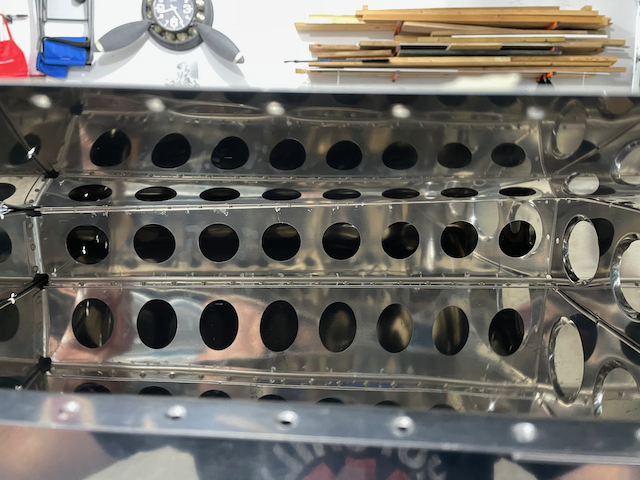
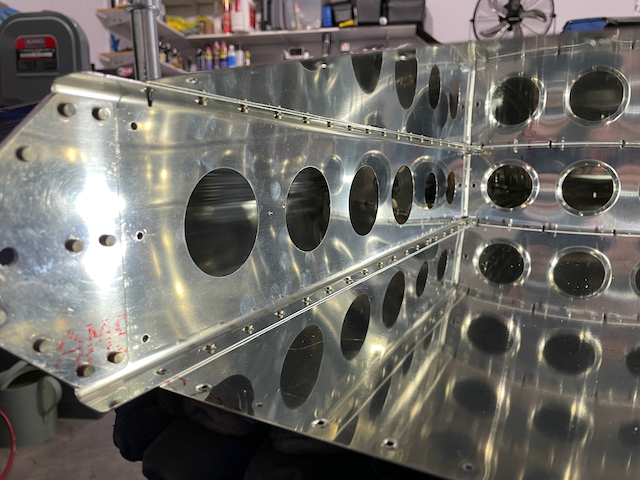
Probably the best part was next. Closing up the sides! This job was nice cause it can be done with the pneumatic squeezer. There was a catch though! If you remember back on day 32, I made myself an extra challenge by machine countersinking holes that should have been dimpled. This meant that today I needed to remind myself to put those custom backing plates in before riveting. It also meant I had to remember to up-size my rivet length slightly. Luckily, I remembered. This was largely due to my markings and tape job on the skins that I setup to block the holes till it was time to do something with them.
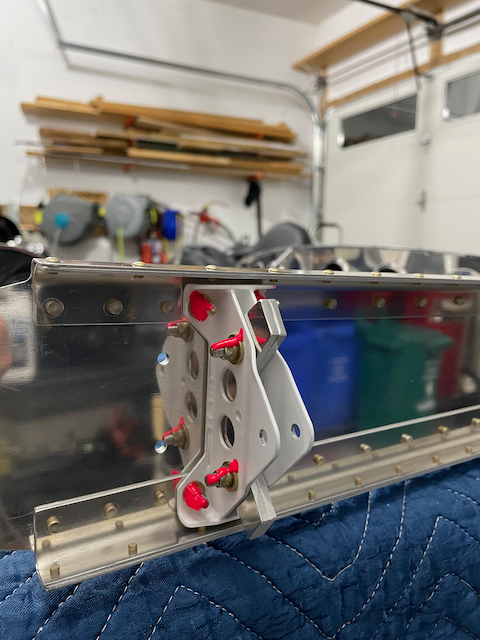
And finally, I had to finish assembling the lower rudder hinge and stops. This should have been done in an earlier step, but I put it off till now. It’s just a few nuts and bolts, but they have to be torqued to just the right spec. Check section 5 of the build manual for how to calculate this. It’s easy to get this wrong if you don’t know what you are doing.
To finish the job, I made sure to “cross check” all the nuts after tightening.