Day 15 – Starting the horizontal stabilizer
- Fred
- 0
- on Aug 18, 2022
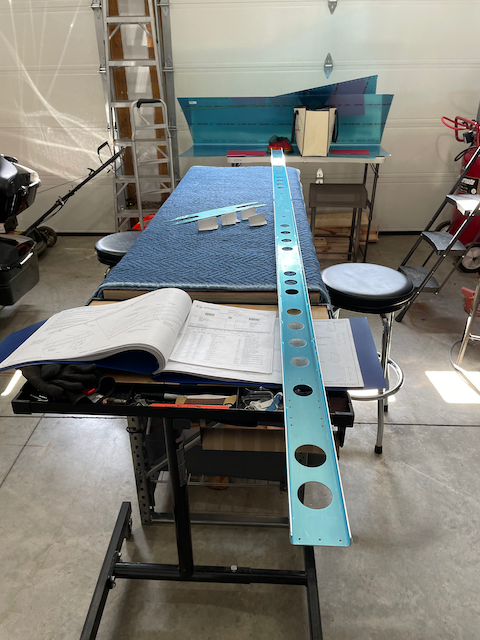
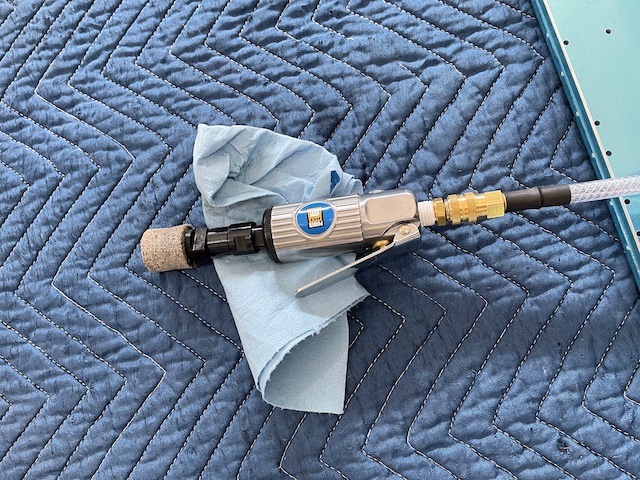
Today, I tucked the completed rudder in to it’s new home for a couple months in the basement to make room on the bench for the next part… The horizontal stabilizer (HS)! With the parts all laid out, I started anew with great optimism and a careful dose of “don’t screw this up”! The first job was pretty strait forward: deburr all the parts for the first assembly. I do MOST of the edge deburring with my grinder and Scotch-Brite wheel, but the HS was WAAAY too handle close to the grinder. That part of my workshop is kinda tight. For the long parts, I got good use out of my cheap little die grinder that I bought at Princess Auto (like a Canadian version of Harbor Freight) for 5 bucks!

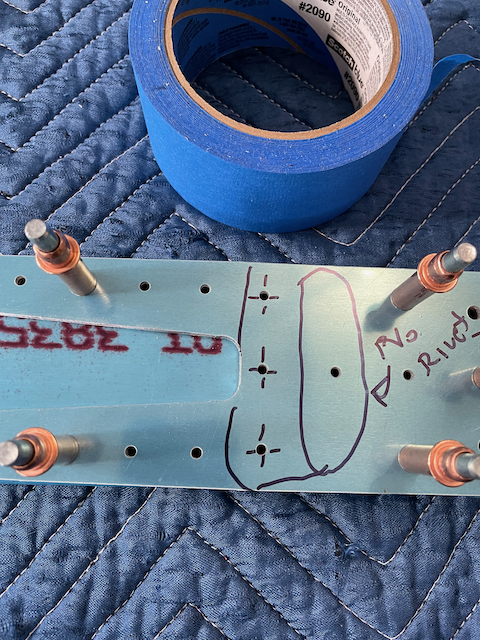
Next, was the task of mating the spar and a doubler. A bunch of cleco and drill work. Nothing fancy except I took a bit of extra time to make up the holes that I did NOT want to drill, and even taped over a few just to be sure. This was based on some good advice I received after an earlier post in the Vans Aircraft Builder group on FaceBook.


The final task sounded pretty strait forward, but had a twist. Match-drill the hinge brackets onto the spar. The tricky part was that the holes were half filled with white powder coat. I used the reamer and cleaned them out before attaching them with clecos and match-drilling. The strait flute reamer got a lot of use today. MOST of the match drilling used it. I only used the #30 drill once when I had to make a few new holes in the doubler.

