Day 7 – Rudder – First Rivets
- Fred
- 0
- on Aug 11, 2022
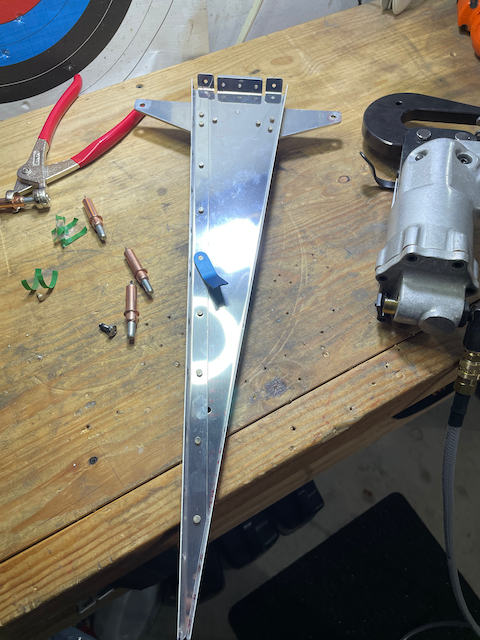
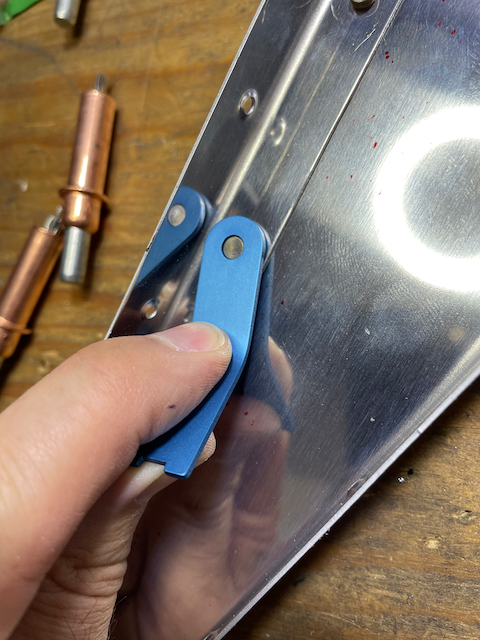
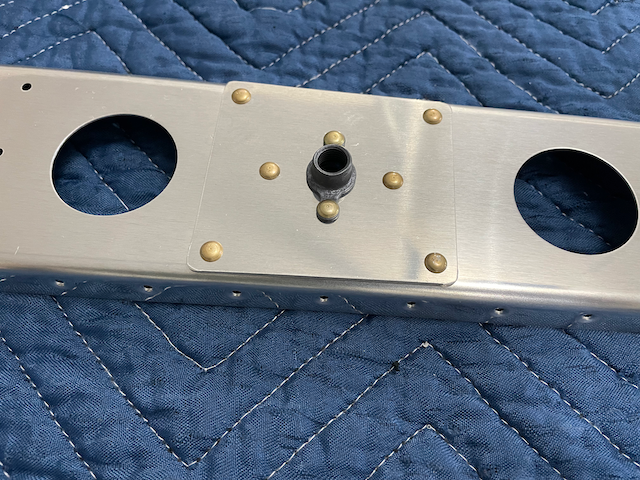
Tonight, I drove the first rivets for the empennage! The task was to assemble the bottom rib and attach the reinforcement plates and nut plates. The first part went off without a hitch, and I ended up with a pretty nice looking part that kinda looked like a spaceship! Seeing as I have not riveted before (other than practice kits), I was EXTRA cautious about making sure I had the correct rivets in the correct holes. I counted out the exact rivets I would need, and I even got out my callipers to confirm that I had the right ones in-hand. I have a roll of riveters tape, so I used that to setup the first round of rivets with clecos in the remaining holes.


This technique was a bit of overkill, but it was important that I start off on the right foot. I did not want to ruin any more parts! In the end, it was a solid plan, and the results were great!

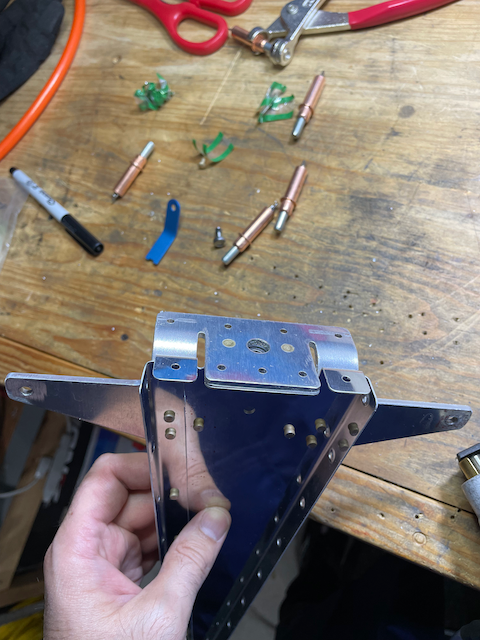
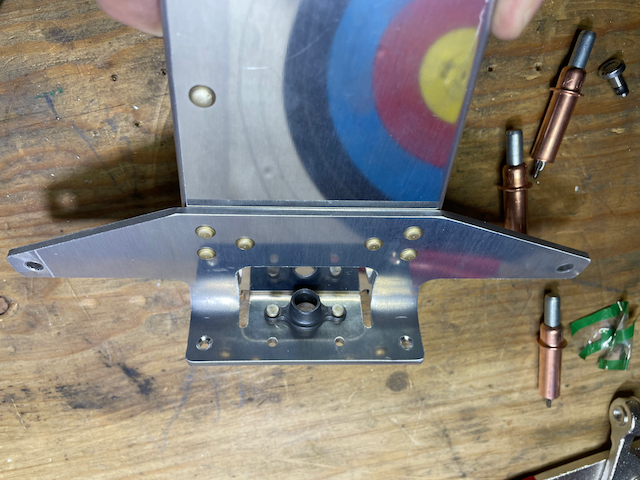
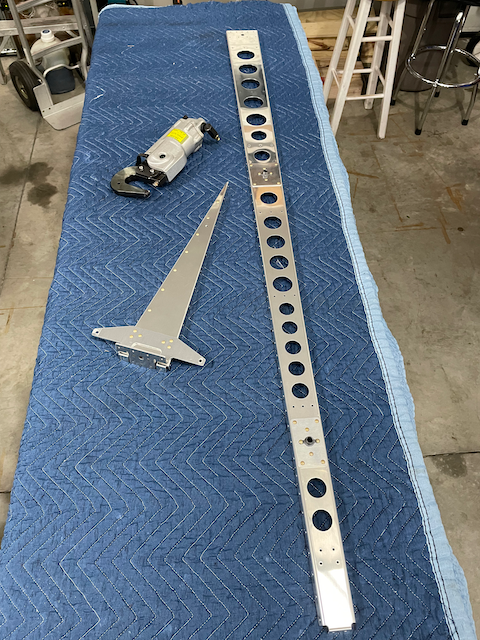
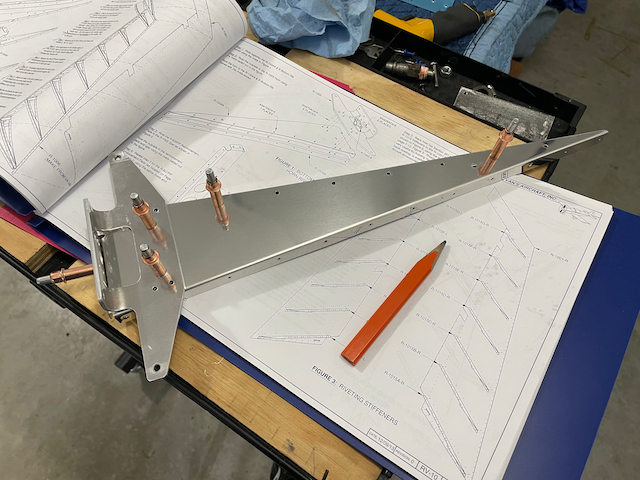
Next up was the spar. It went… not as well at first. I got the first reinforcement plate on and was partially done the second one, when I realized I was attaching them to the incorrect side of the spar. This made me swear a bit, and then I got to work on drilling out a bunch of rivets. The second time went better, and I guess all is well that ends well?!

A couple other small things happened too. I found that I had forgotten to dimple the spar. I did this, and then started peeling plastic off all the pieces. The next big task is back-riveting the skin stiffeners to the rudder skins. Should be fun!