Day 25 and 26 – Horizontal stabilizer attachment brackets
- Fred
- 0
- on Nov 06, 2022
Day 25: Before I talk about tonight’s work, I have to go back to a day in September when Dylan stopped by to help out. That day, we took apart the mostly assembled horizontal stabilizer and did A LOT of deburring. Dylan was a huge help with this work, and did most of it. I hope after a day of deburring, he won’t be put off and will come back to help again one day!
Day 26: Today, I finally got back to work after a month of accomplishing nothing. I caught a bad cold and spent weeks being sick. This wiped me right out for flying AND building unfortunately. I found it really hard to find the motivation to get back to work, but I finally found it and today was the day!
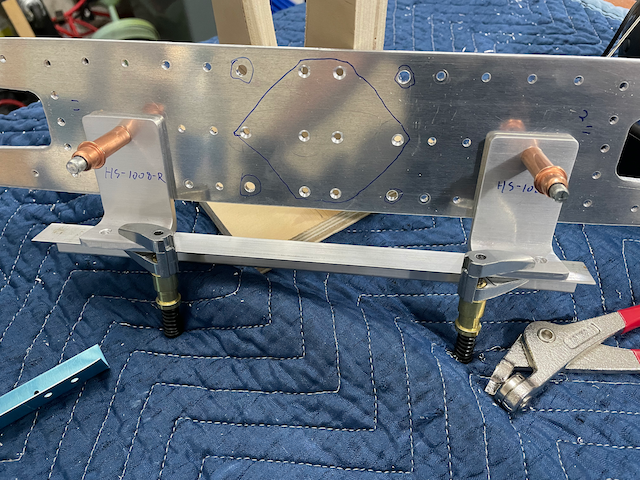
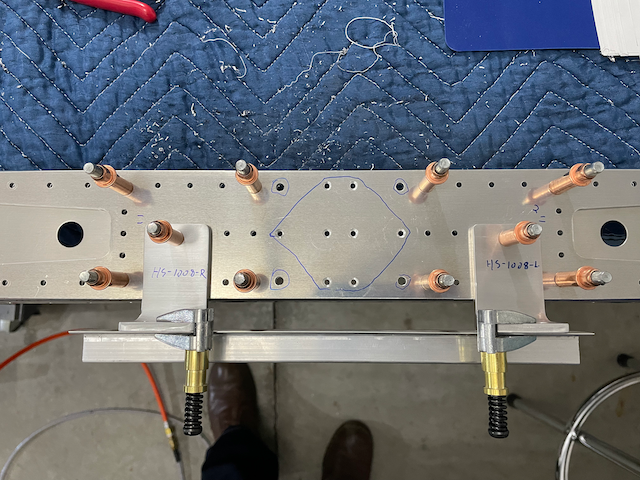
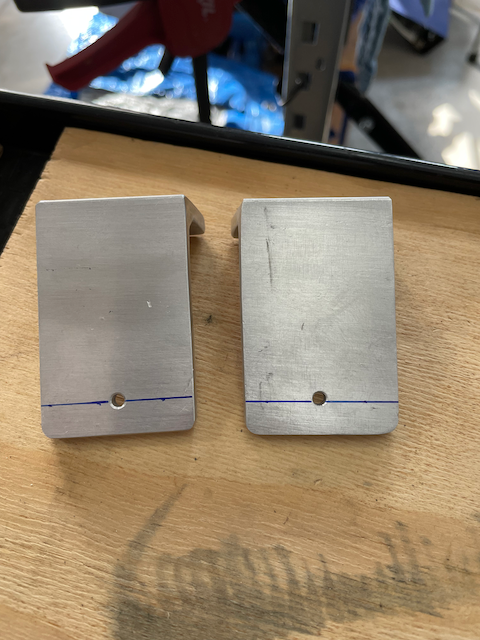
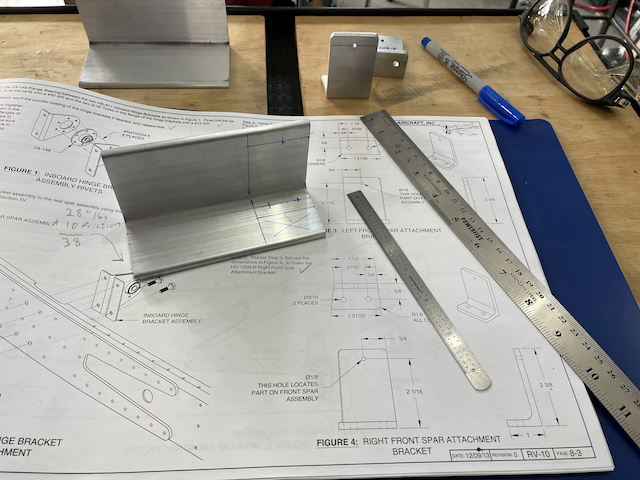
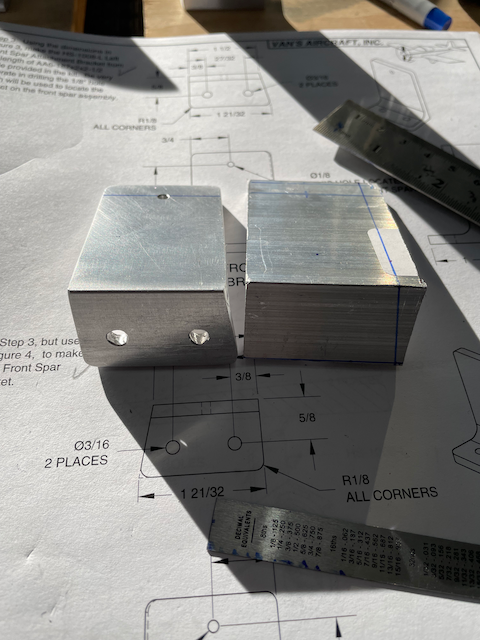
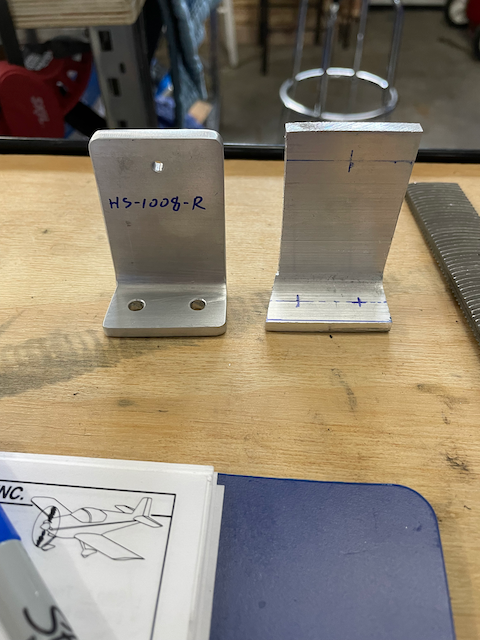
As you may recall, this is not the first time I have worked on the horizontal stabilizer attachment brackets. The first time, I did a pretty good job up till the point where I drilled the locate hole in the right bracket. I ended up drilling it about 1/32 of an inch south of the line. I decided to build around the mistake and order more angle aluminum to try again. I ordered enough material to screw it up another couple times, but luckily I don’t need it all!
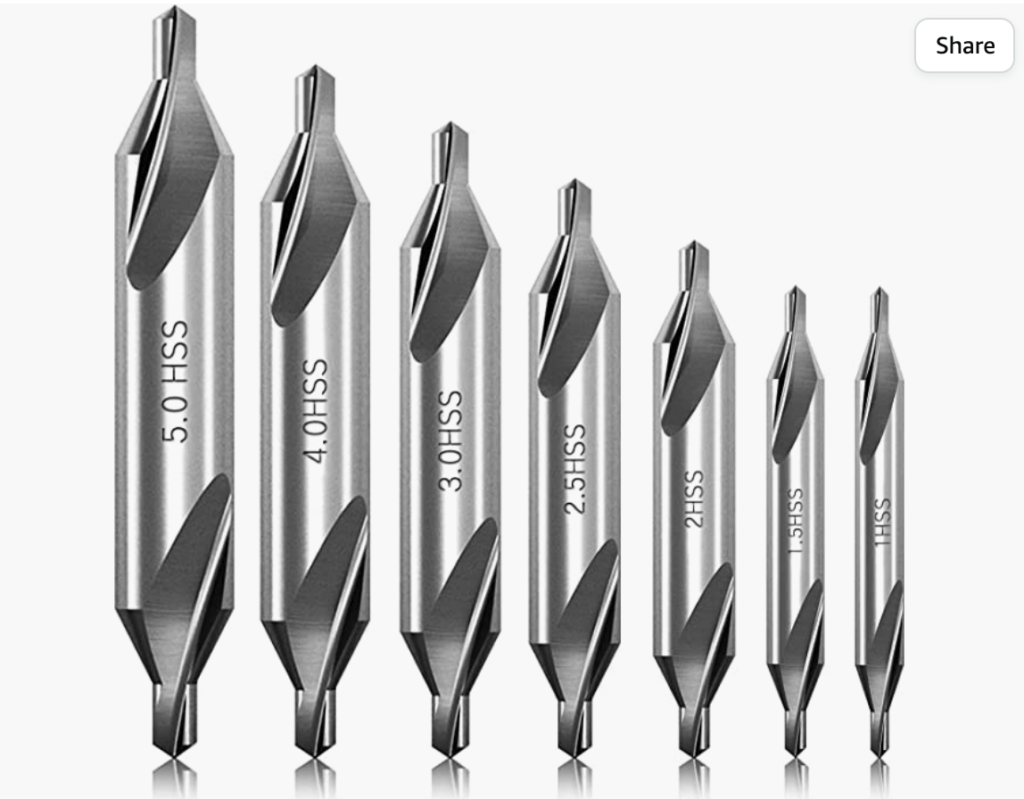
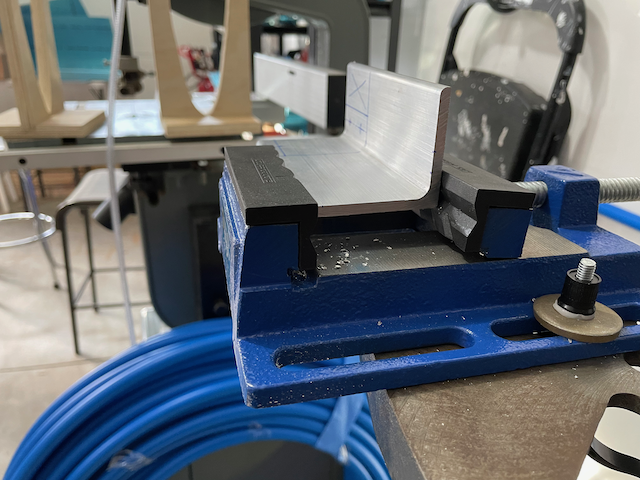
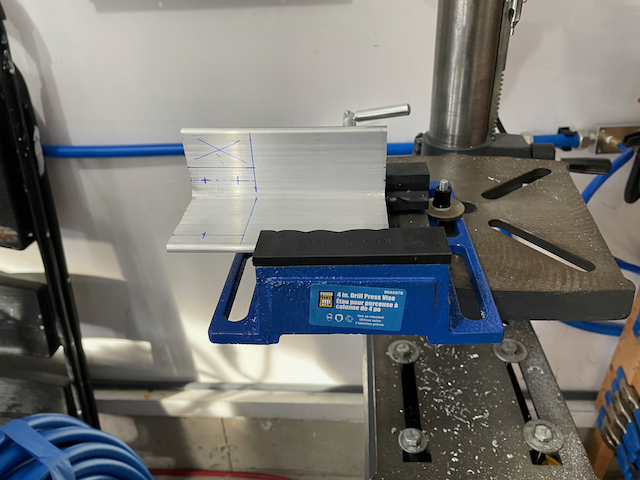
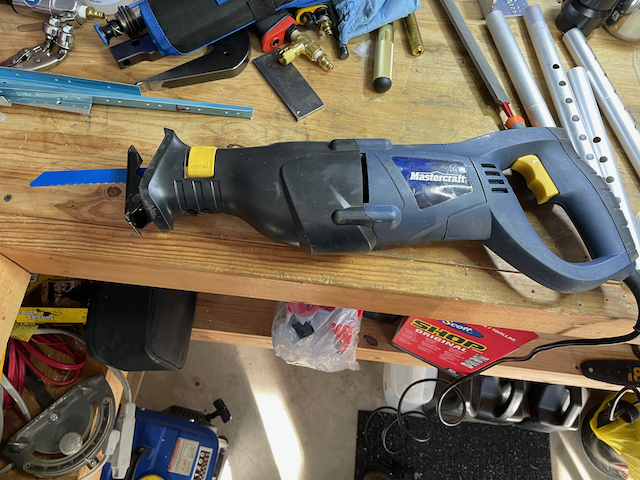
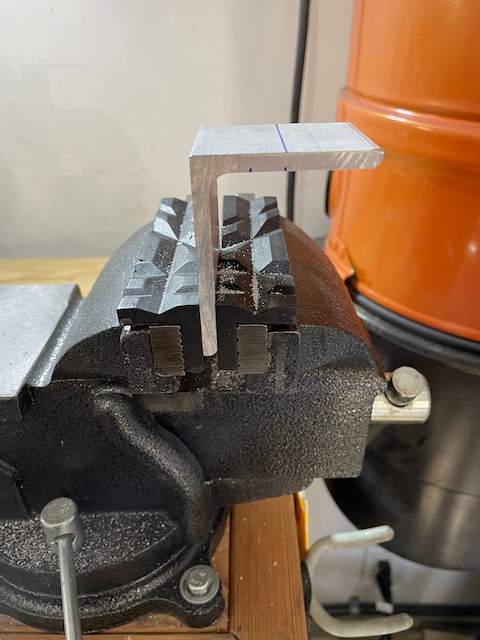
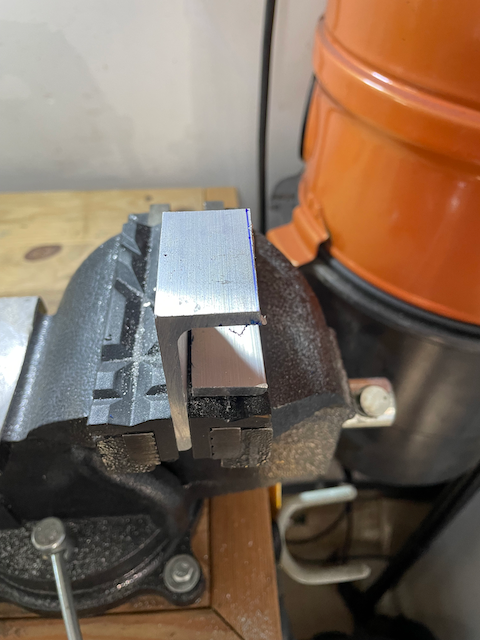
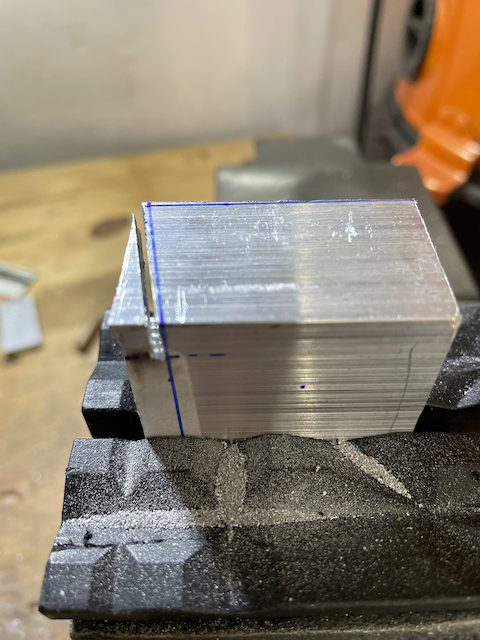
My methodology was about the same as last time, with a couple exceptions. Since I last tried, I got some nylon inserts for the vise that allow me to clamp down on the work without marring it up. I also bought some centre bits to start the holes with to make sure I didn’t miss this time! This was a recommendation I received on FaceBook after posting my tale of woe from last time I made a mess. I used my reciprocating saw to do the rough cuts. I got pretty close to the lines this time. A bit too close maybe, but I got away with it. I may get a cordless “mini reciprocating saw” if I have to do something like this again. The one I have is a bit clumsy for small work and requires two hands.
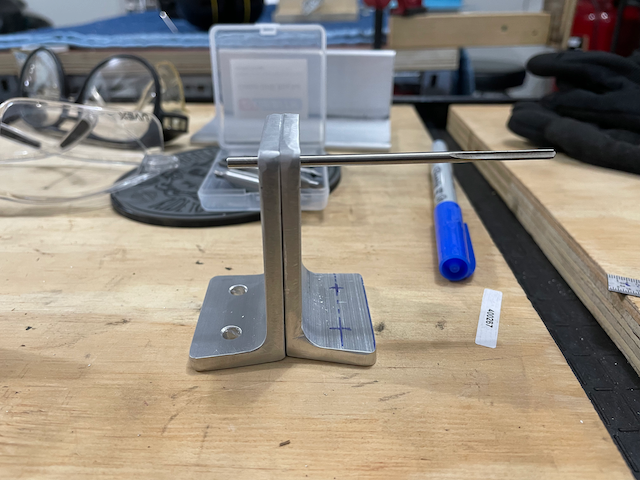
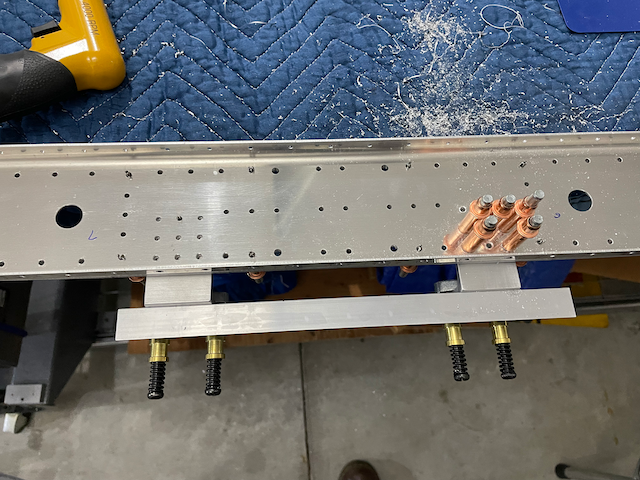
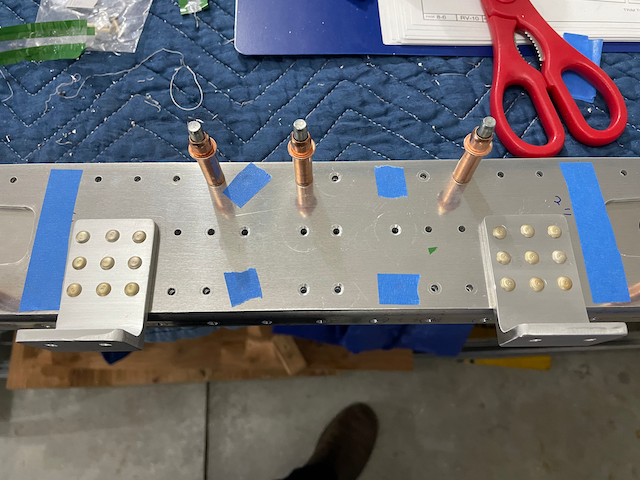
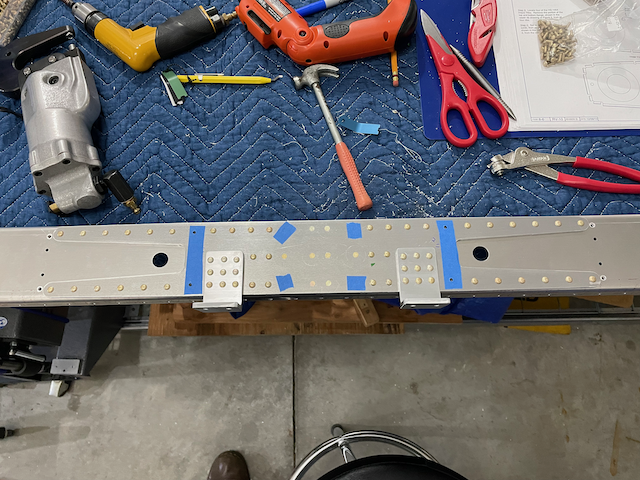
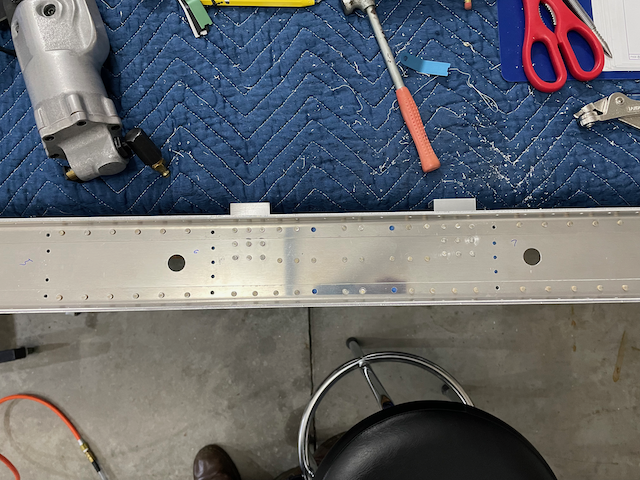
Once the new part was done, I decided to go for the gold and attach it to the spar web. This was a lot of drilling and riveting, but I pressed on. By the end of the night, I finished ALL of the rivets that are common to the spar web/doubler/caps and the attachment brackets. I screwed up one rivet and drilled it out. The replacement went perfectly, and you’ll never know which one it was!