Day 6 – Section 7 – Rudder
- Fred
- 0
- on Aug 10, 2022
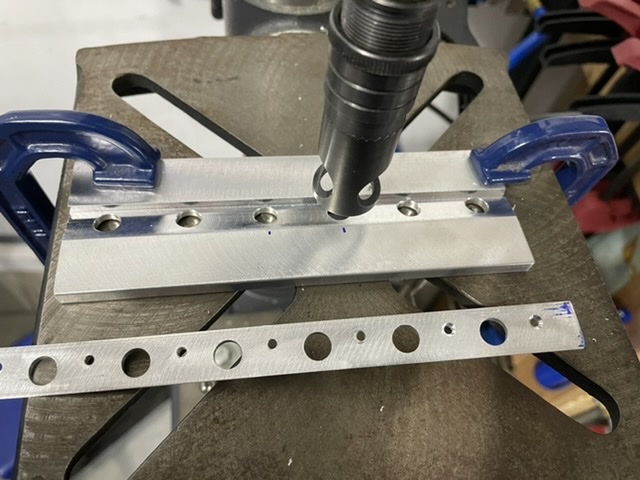
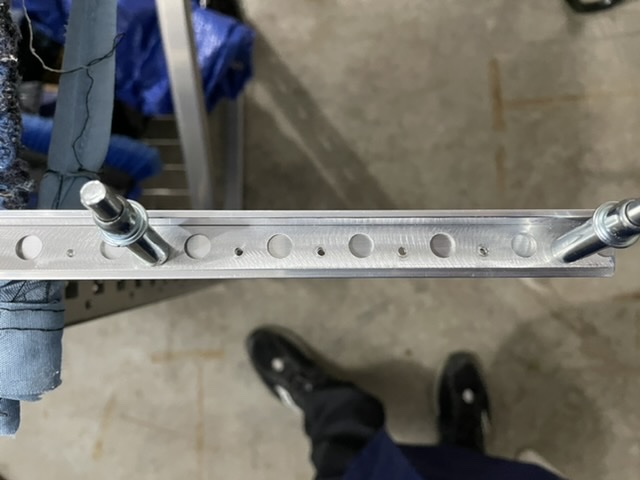
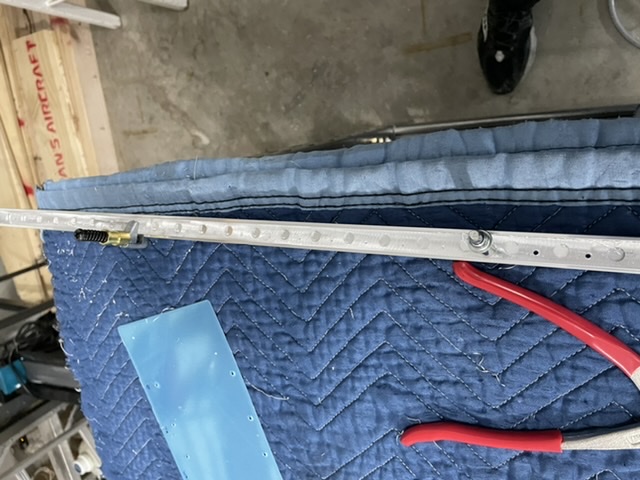
Today’s task was to get the trailing edge countersunk. I decided to do some fabrication first though. Looking ahead, I know I’m going to have to pro-seal my trailing edge and find a way to clamp it while the sealant cures. I saw a technique I liked that used a piece of aluminum angle to make a clamp that you can cleco the edge to. I hit up the ”aviation section” at Princess Auto, and for 10 bucks I had all the material I needed. Next up was the risky business of match drilling it to my trailing edge. I felt like this was my only shot, because I’d soon be countersinking. I was nervous that I’d hog out the holes while doing this, but it turned out great.

Countersinking the trailing edge was mostly about setup. I started off drilling way too shallow, and lowered the dept by about 1/4 turn of the cage at a time. Once my depth was set, I did about half a row before stopping to setup something to hold the cage still so I could have two free hands. This made things a bit easier. the results were perfect.


Next time, I’ll be putting in my first rivet as I assemble the lower in rib for the rudder.