Day 4 – Section 7 – First time putting on skins
- Fred
- 0
- on Aug 07, 2022
Today, I had a bit of time before bed and could not resist doing a bit of work. The mission was to prepare the trailing edge and fit the skins onto the skeleton of the rudder I have been working on. The first step was to deburr the rudder skins, which I had neatly tucked in the basement. After a VERY careful trip up the stairs with them, I deburred them both and laid one on the skeleton. Once it was in position, I went to work on attaching it with clecos.


Next, I had to fit the trailing edge. This is a long aluminum wedge that is attached to the back end of the rudder to give it some rigidity where the skins (very thin aluminum) meet. To make it just right, I clecoed the trailing edge to the skin and marked up the part that protruded with blue sharpie. The bandsaw and grinder made quick work of the trimming, but if I did it again, I would have used a Dremel or even the shears for the cutting. The bandsaw was a bit rough on the trailing edge when cutting the thin material near the lightening holes.


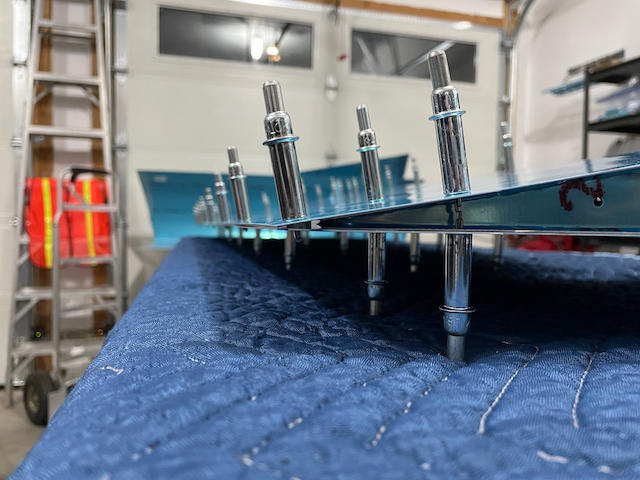
To close the night off, I got to do the most exciting thing yet, which was to put the skins on the skeleton and see an actual rudder taking shape! After a lot of clecos, I took a few minutes to appreciate my work.


I want to also throw out a shout-out for Chris Calderbank from The Proven Group and the lifesaving addition to the project… The heat pump that air conditions the garage. It was 28C in the shade today, but it was dry and cool in my little workshop!

That’s all for today! Next time, I will be doing a ton of match-drilling of the skins, sibs, and stiffeners, followed by just as much deburring.